SKU: OT2085-B118 Artikelnummer: NA171 EAN: 8126478667001

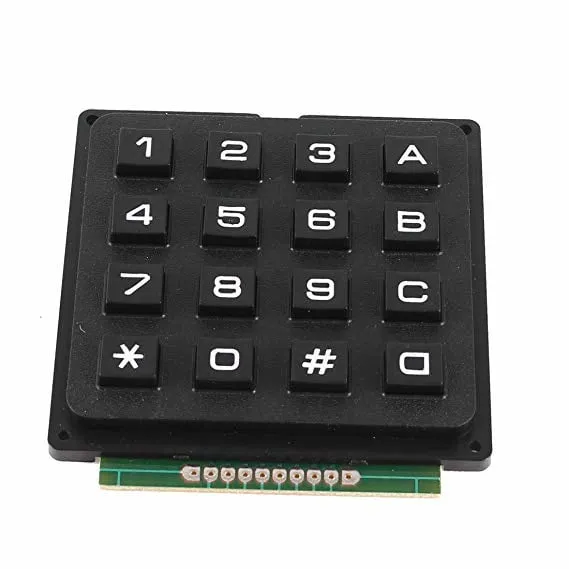
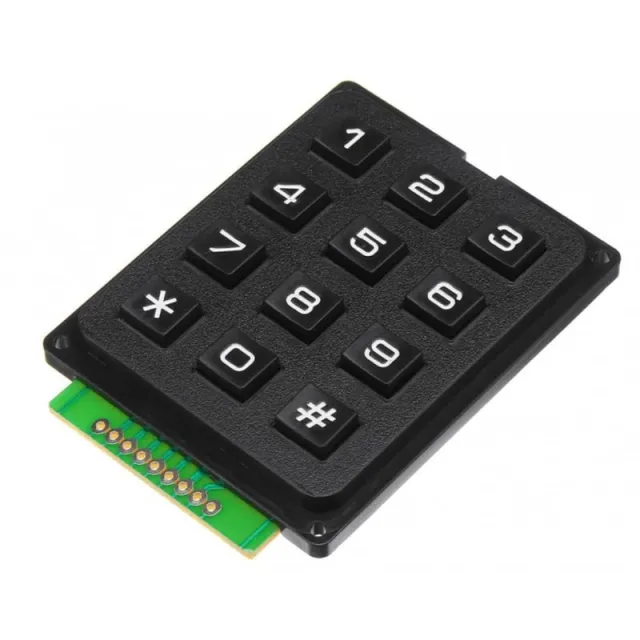
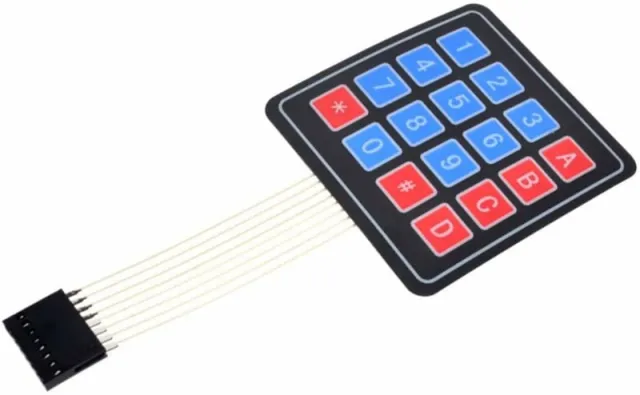
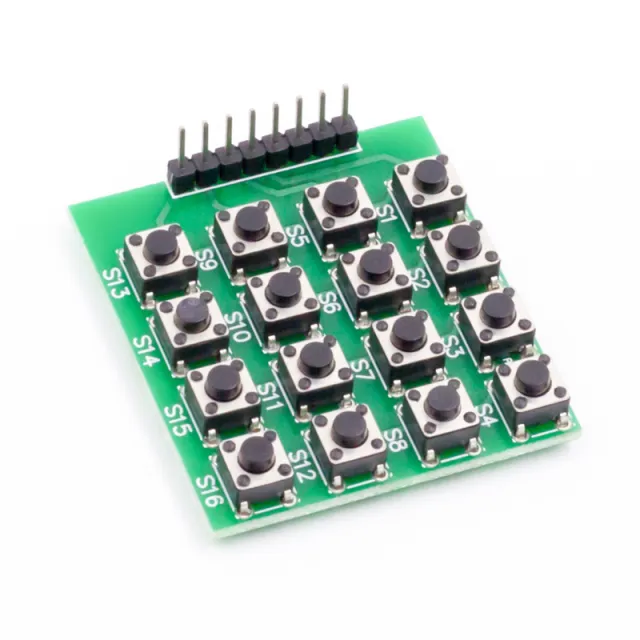
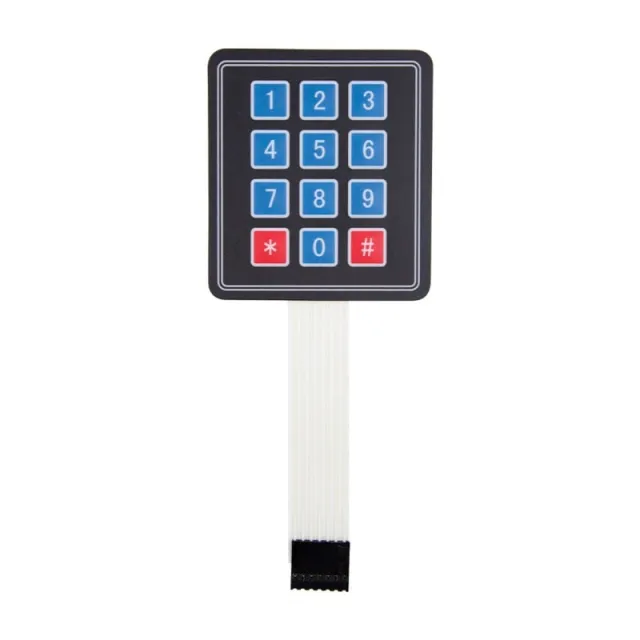
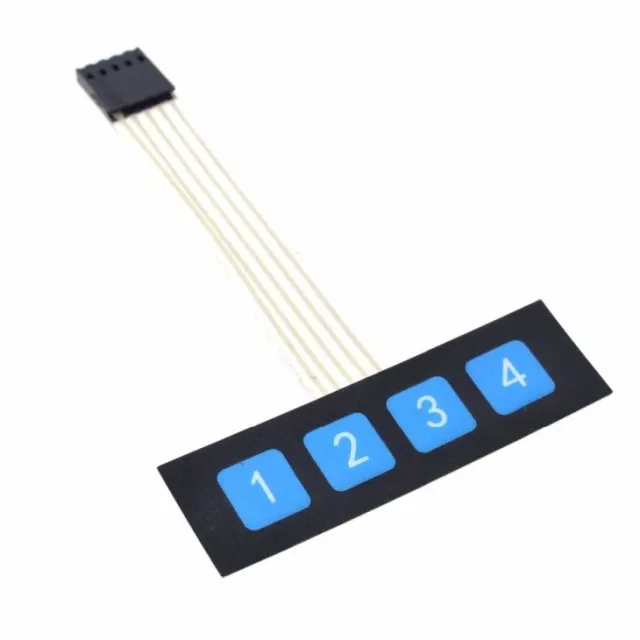
Tastenfeld mit Kunststofftasten. Ideal zum Beispiel für die Eingabe eines Zugangscodes.
Das Tastenfeld hat Membranschalter und alle Tasten sind mit den Zahlen 0-9 sowie den Zeichen * und # versehen. Rechts befinden sich noch 4 Tasten mit A,B,C und D
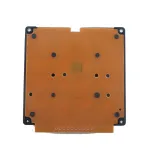
Das Modul ist sehr gut für den Einbau geeignet. Auf dem Modul befinden sich außerdem vier 2mm Löcher zur Montage.
Abmessungen
Lengte: 6,9cm
Breedte: 6,5cm
Hoogte: 1cm
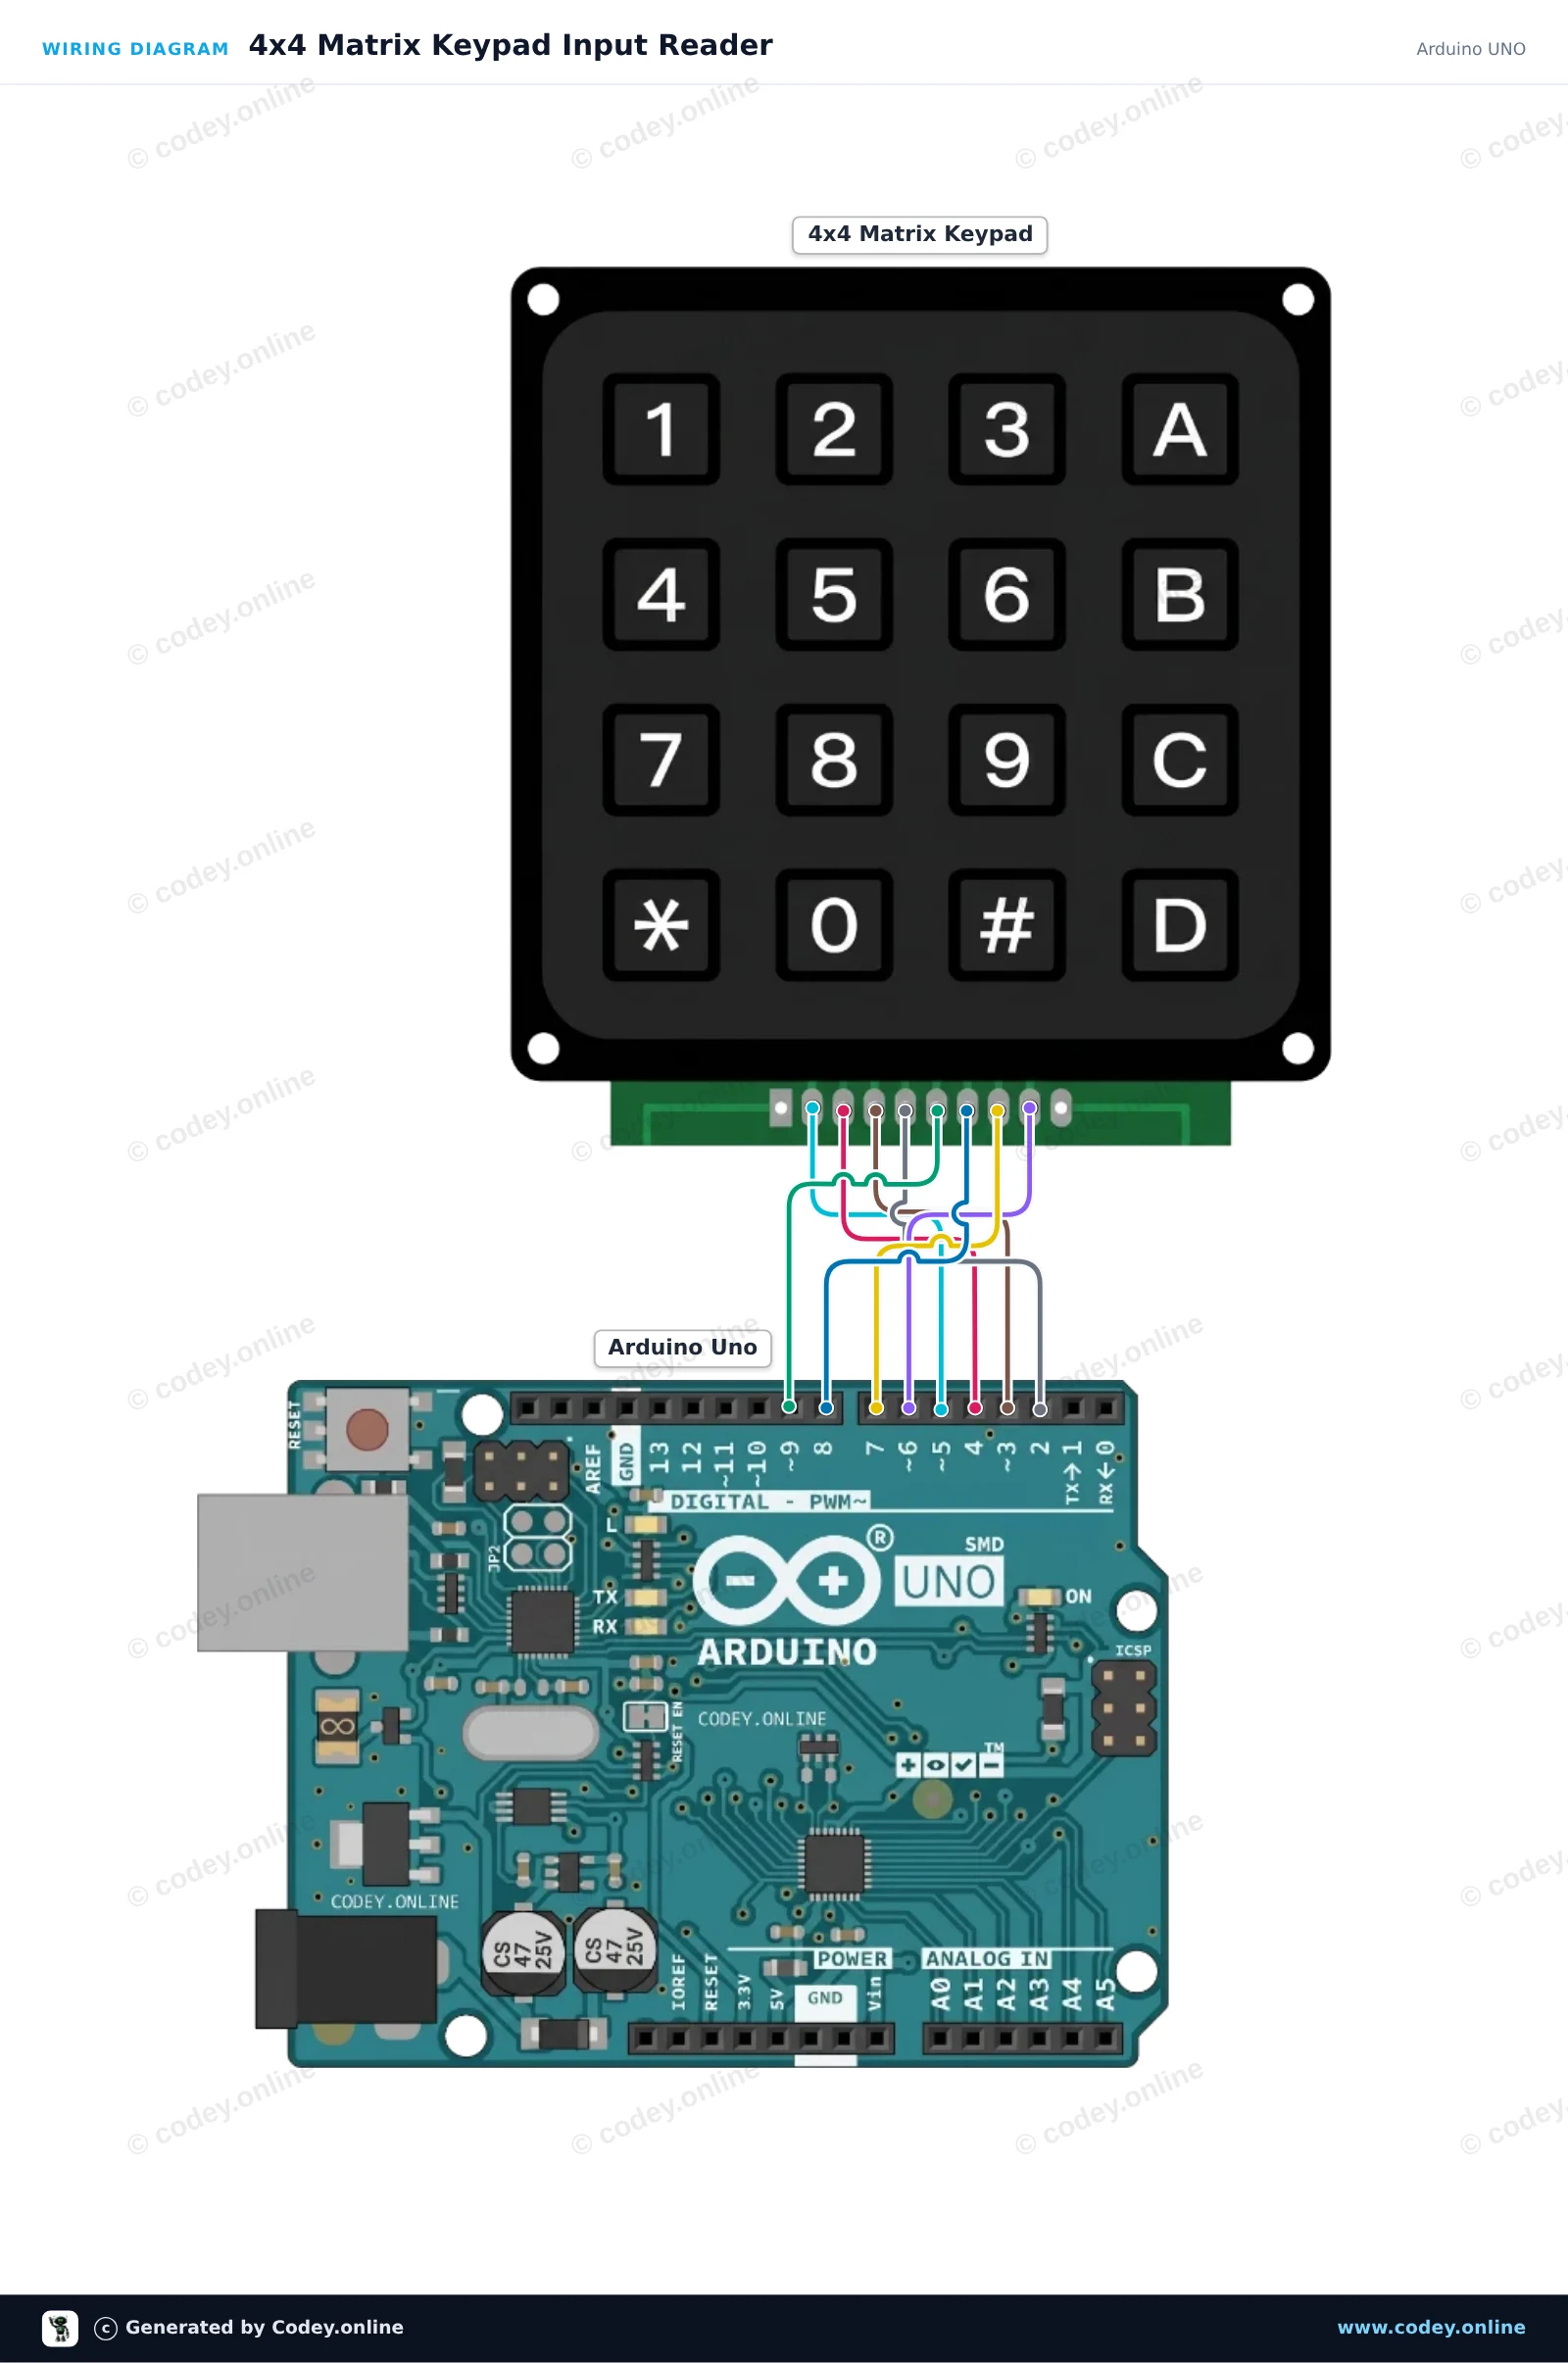
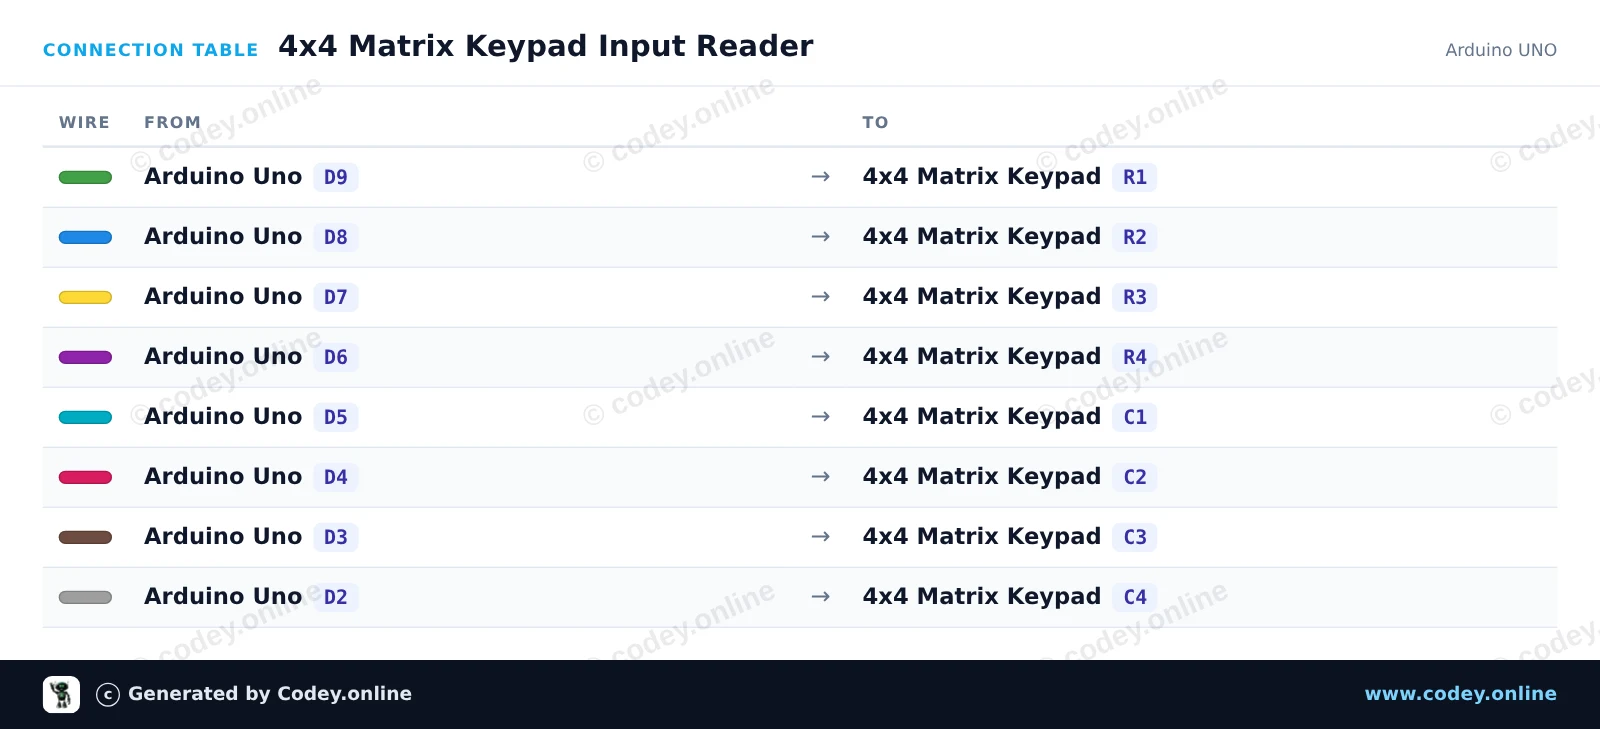
So schließt du den 4x4 Matrix-Tastenfeld schwarz an einen Arduino UNO oder ESP32 an, mit einem Beispiel-Sketch, den du direkt hochladen kannst.
Dieses Projekt zeigt, wie man Eingaben von einem 4x4-Matrix-Keypad mit einem Arduino Uno ausliest. Wenn eine Taste auf dem Keypad gedrückt wird, wird das entsprechende Zeichen direkt im Serial Monitor mit 115200 baud ausgegeben.
/*
 * ==================================================================
 *  Generated by Codey.online  —  https://www.codey.online
 * ==================================================================
 *  Project   : 4x4 Matrix Keypad Input Reader
 *  Board     : Arduino UNO (arduino:avr:uno)
 *  Parts     : Keypad 4x4
 *  Libraries : Keypad 3.1.1
 *
 *  Codey Online is an AI-powered browser IDE for Arduino and ESP32.
 *  Describe your project and Codey writes the code, draws the wiring
 *  diagram and uploads it to your board, straight from the browser.
 *  This code is free to use, modify and share, without warranty.
 * ==================================================================
 */

#include <Keypad.h>

const byte ROWS = 4;
const byte COLS = 4;

char keys[ROWS][COLS] = {
  {'1', '2', '3', 'A'},
  {'4', '5', '6', 'B'},
  {'7', '8', '9', 'C'},
  {'*', '0', '#', 'D'}
};

byte rowPins[ROWS] = {9, 8, 7, 6};
byte colPins[COLS] = {5, 4, 3, 2};

Keypad keypad = Keypad(makeKeymap(keys), rowPins, colPins, ROWS, COLS);

void setup() {
  Serial.begin(115200);
  Serial.println(F("4x4 Keypad Demo"));
  Serial.println(F("Press any key on the keypad..."));
}

void loop() {
  char key = keypad.getKey();

  if (key) {
    Serial.print(F("Key Pressed: "));
    Serial.println(key);
  }
}Benötigte Bibliotheken: Keypad 3.1.1
Wiring diagram and example code generated by Codey.online — https://www.codey.online
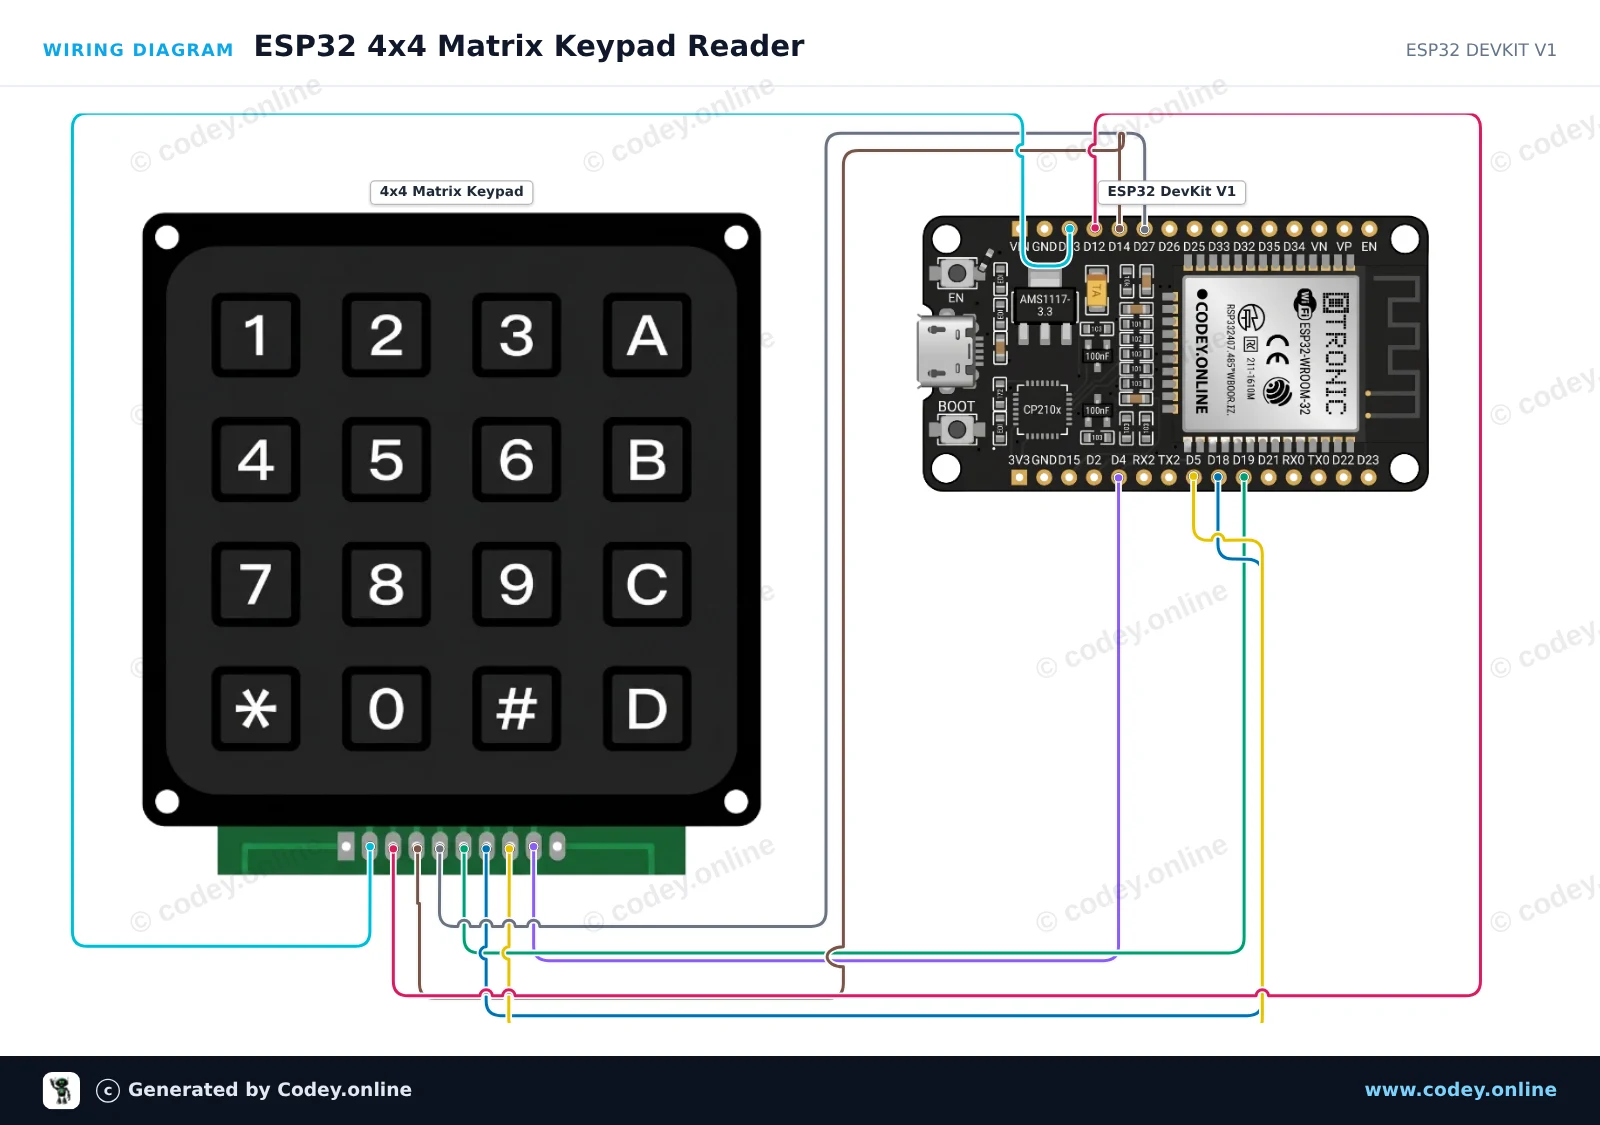
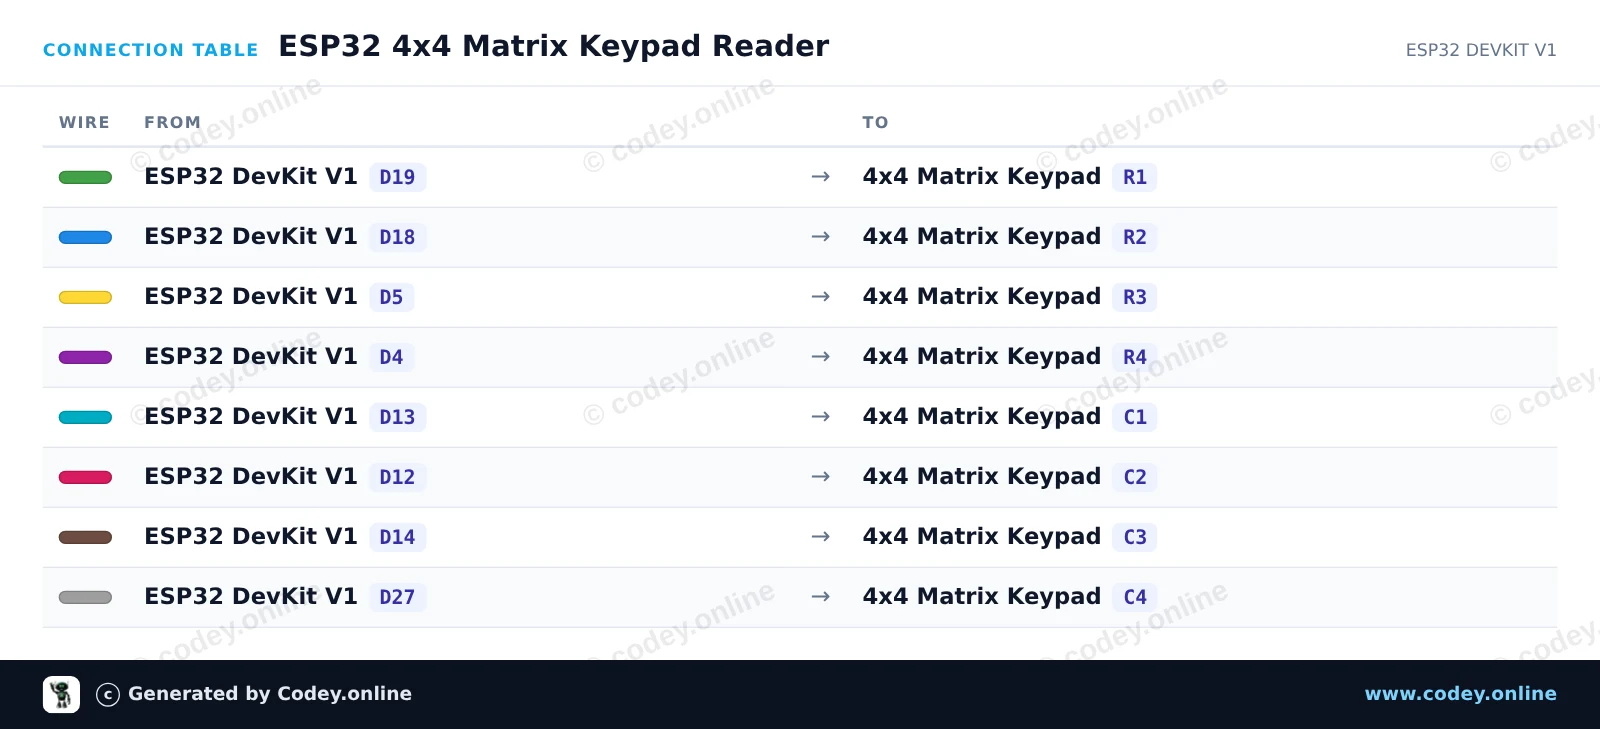
Diese Schaltung verbindet ein 4x4-Matrix-Tastenfeld direkt mit den GPIOs des ESP32. Die Keypad library scannt die Matrixzeilen und -spalten mithilfe interner Pull-up-Widerstände. Beim Drücken einer Taste wird ihr Zeichen in Echtzeit im Serial Monitor ausgegeben.
/*
 * ==================================================================
 *  Generated by Codey.online  —  https://www.codey.online
 * ==================================================================
 *  Project   : ESP32 4x4 Matrix Keypad Reader
 *  Board     : ESP32 DEVKIT V1 (esp32:esp32:esp32doit-devkit-v1)
 *  Parts     : Keypad 4x4
 *  Libraries : Keypad 3.1.1
 *
 *  Codey Online is an AI-powered browser IDE for Arduino and ESP32.
 *  Describe your project and Codey writes the code, draws the wiring
 *  diagram and uploads it to your board, straight from the browser.
 *  This code is free to use, modify and share, without warranty.
 * ==================================================================
 */

#include <Keypad.h>

const byte ROWS = 4;
const byte COLS = 4;

char keys[ROWS][COLS] = {
  {'1', '2', '3', 'A'},
  {'4', '5', '6', 'B'},
  {'7', '8', '9', 'C'},
  {'*', '0', '#', 'D'}
};

byte rowPins[ROWS] = {19, 18, 5, 4};
byte colPins[COLS] = {13, 12, 14, 27};

Keypad keypad = Keypad(makeKeymap(keys), rowPins, colPins, ROWS, COLS);

void setup() {
  Serial.begin(115200);
  Serial.println("4x4 Keypad Test Ready. Press any key...");
}

void loop() {
  char customKey = keypad.getKey();

  if (customKey) {
    Serial.print("Key pressed: ");
    Serial.println(customKey);
  }
}Benötigte Bibliotheken: Keypad 3.1.1
Wiring diagram and example code generated by Codey.online — https://www.codey.online






 English
  Nederlands
  Frans
Frans  Italiano
  Español
  Suomi
Suomi  Polski
  Dansk
Dansk  Ελληνικά
  Български
  Čeština
  Hrvatski
  Aileen