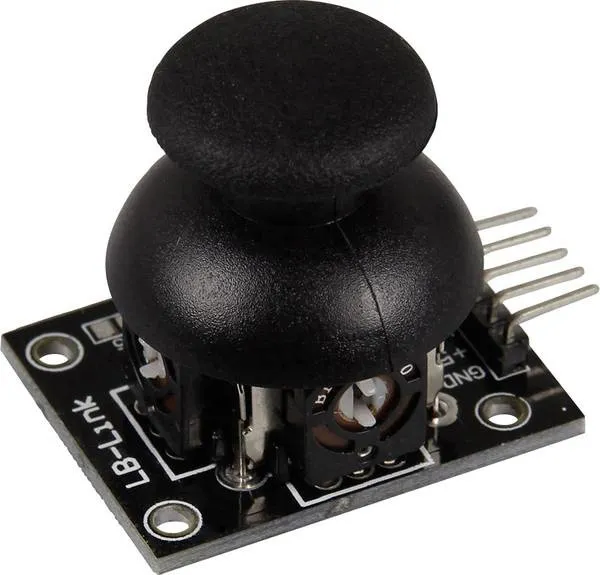
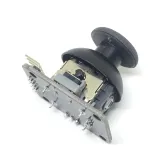
SKU: OT620-B36 Artikelnummer: YQ939 EAN: 8720828223031

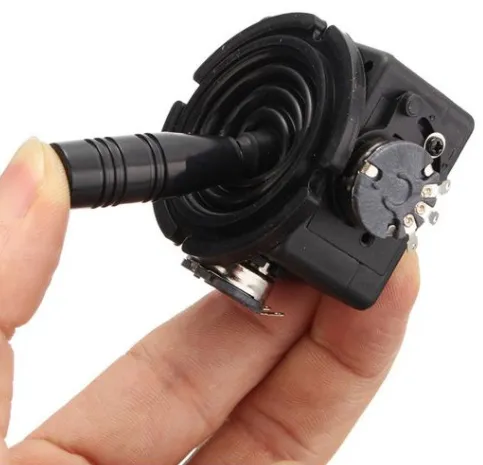
Mit diesem Board können die X- und Y-Position des Joysticks als analoge Spannung an den Ausgangspins ausgegeben werden. Geeignet für u.a. Arduino-, Raspberry Pi-, ESP8266- oder ESP32-Projekte.
sehen Sie hier den Anschlussplan und den Beispielcode >>>
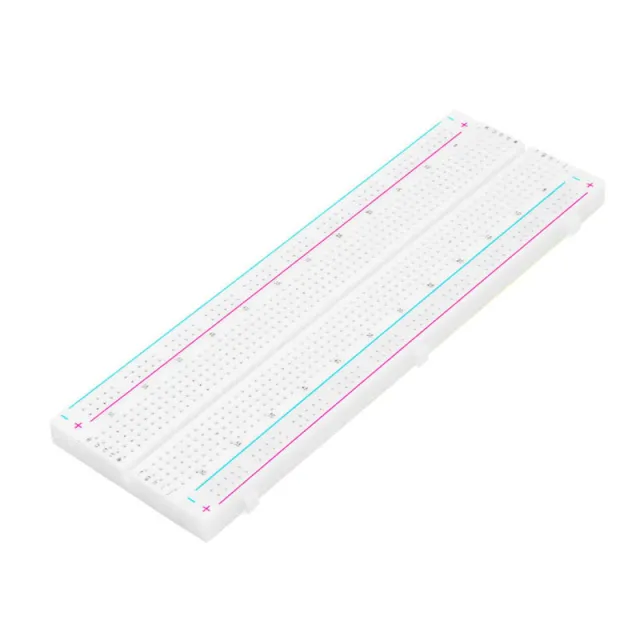
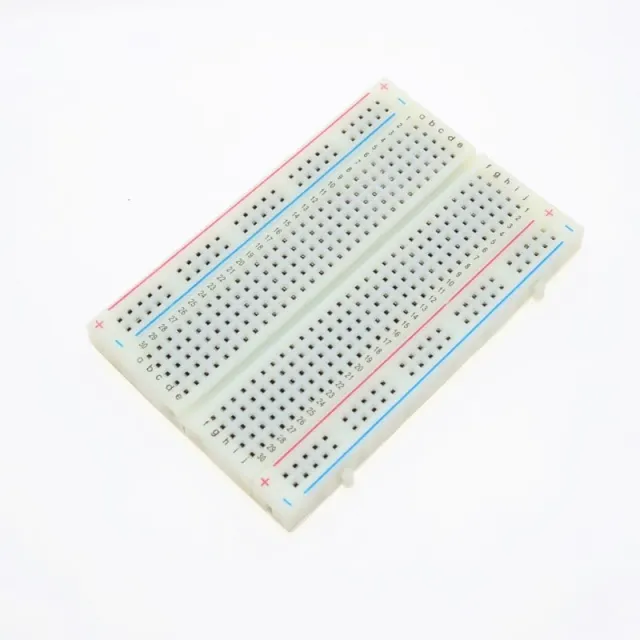
Das Modul kann gelötet oder auf einem Breadboard verwendet werden.
Spannungsbereich: 0 - 5 V
Betriebsspannung: 3,3 - 5V
Abmessungen: 34 x 39 x 26 mm
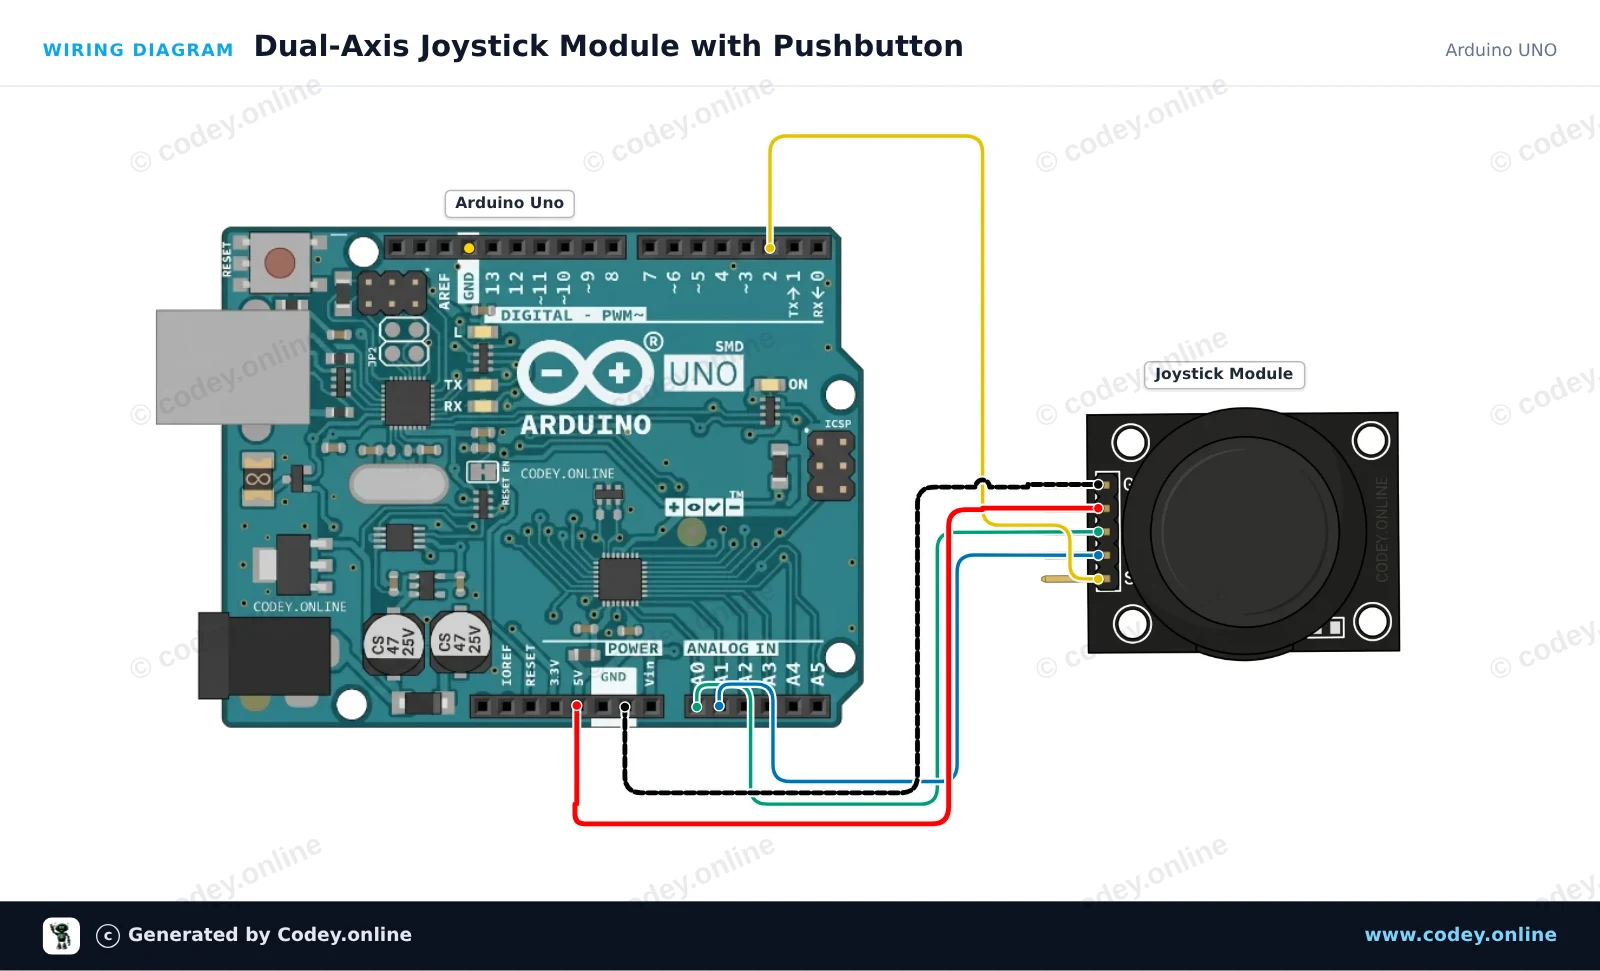
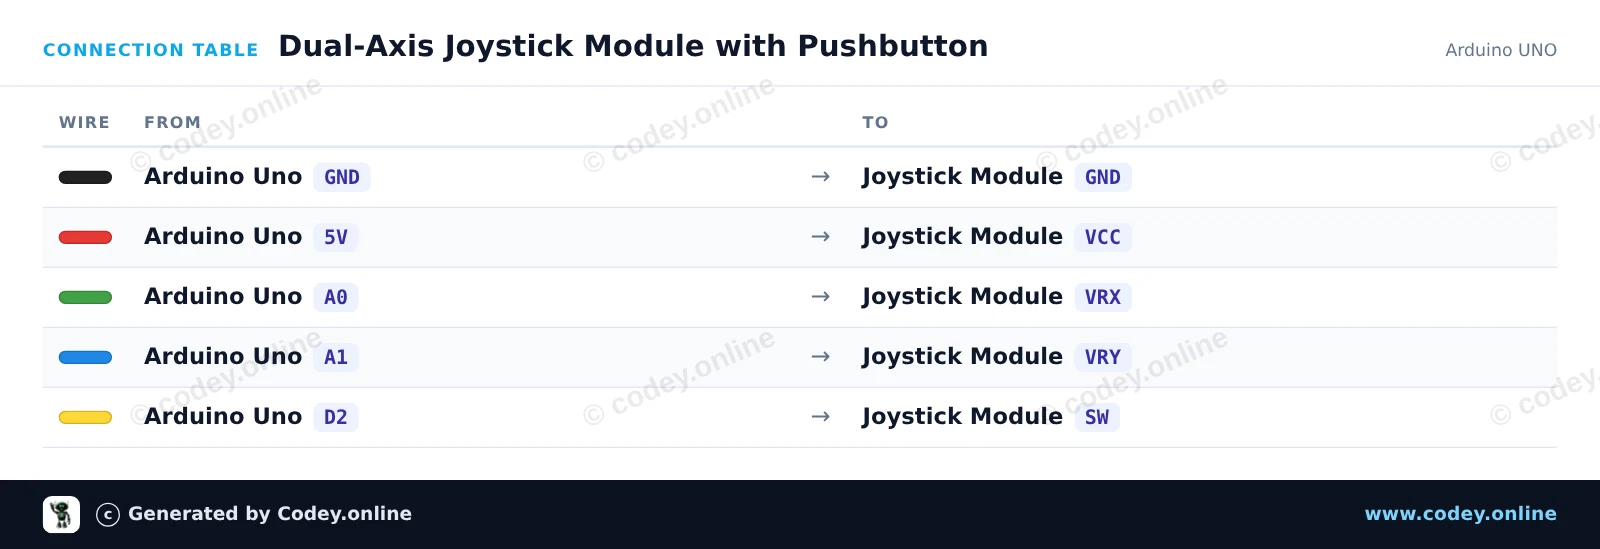
So schließt du den Joystick-Modul an einen Arduino UNO oder ESP32 an, mit einem Beispiel-Sketch, den du direkt hochladen kannst.
Dieses Beispiel liest die analogen X- und Y-Achsenpositionen sowie den integrierten Drucktaster des Joystick-Moduls aus. Bewege den Stick oder drücke ihn nach unten, um die Positionswerte in Echtzeit und den Tasterstatus im Serial Monitor anzuzeigen.
/*
 * ==================================================================
 *  Generated by Codey.online  —  https://www.codey.online
 * ==================================================================
 *  Project   : Dual-Axis Joystick Module with Pushbutton
 *  Board     : Arduino UNO (arduino:avr:uno)
 *  Parts     : Joystick module
 *  Libraries : none (built-in)
 *
 *  Codey Online is an AI-powered browser IDE for Arduino and ESP32.
 *  Describe your project and Codey writes the code, draws the wiring
 *  diagram and uploads it to your board, straight from the browser.
 *  This code is free to use, modify and share, without warranty.
 * ==================================================================
 */

// Pin definitions
const int PIN_X = A0;
const int PIN_Y = A1;
const int PIN_SW = 2;

void setup() {
  // Enable internal pull-up resistor for the integrated pushbutton
  pinMode(PIN_SW, INPUT_PULLUP);

  Serial.begin(115200);
  Serial.println(F("Joystick Module Demo"));
  Serial.println(F("--------------------"));
}

void loop() {
  // Read analog values for X and Y axes (range: 0 - 1023)
  int xVal = analogRead(PIN_X);
  int yVal = analogRead(PIN_Y);

  // Button is active-low (reads LOW when pressed)
  bool isPressed = (digitalRead(PIN_SW) == LOW);

  // Print the results to Serial Monitor
  Serial.print(F("X: "));
  Serial.print(xVal);
  Serial.print(F(" | Y: "));
  Serial.print(yVal);
  Serial.print(F(" | Button: "));
  Serial.println(isPressed ? F("PRESSED") : F("RELEASED"));

  delay(150);
}Wiring diagram and example code generated by Codey.online — https://www.codey.online
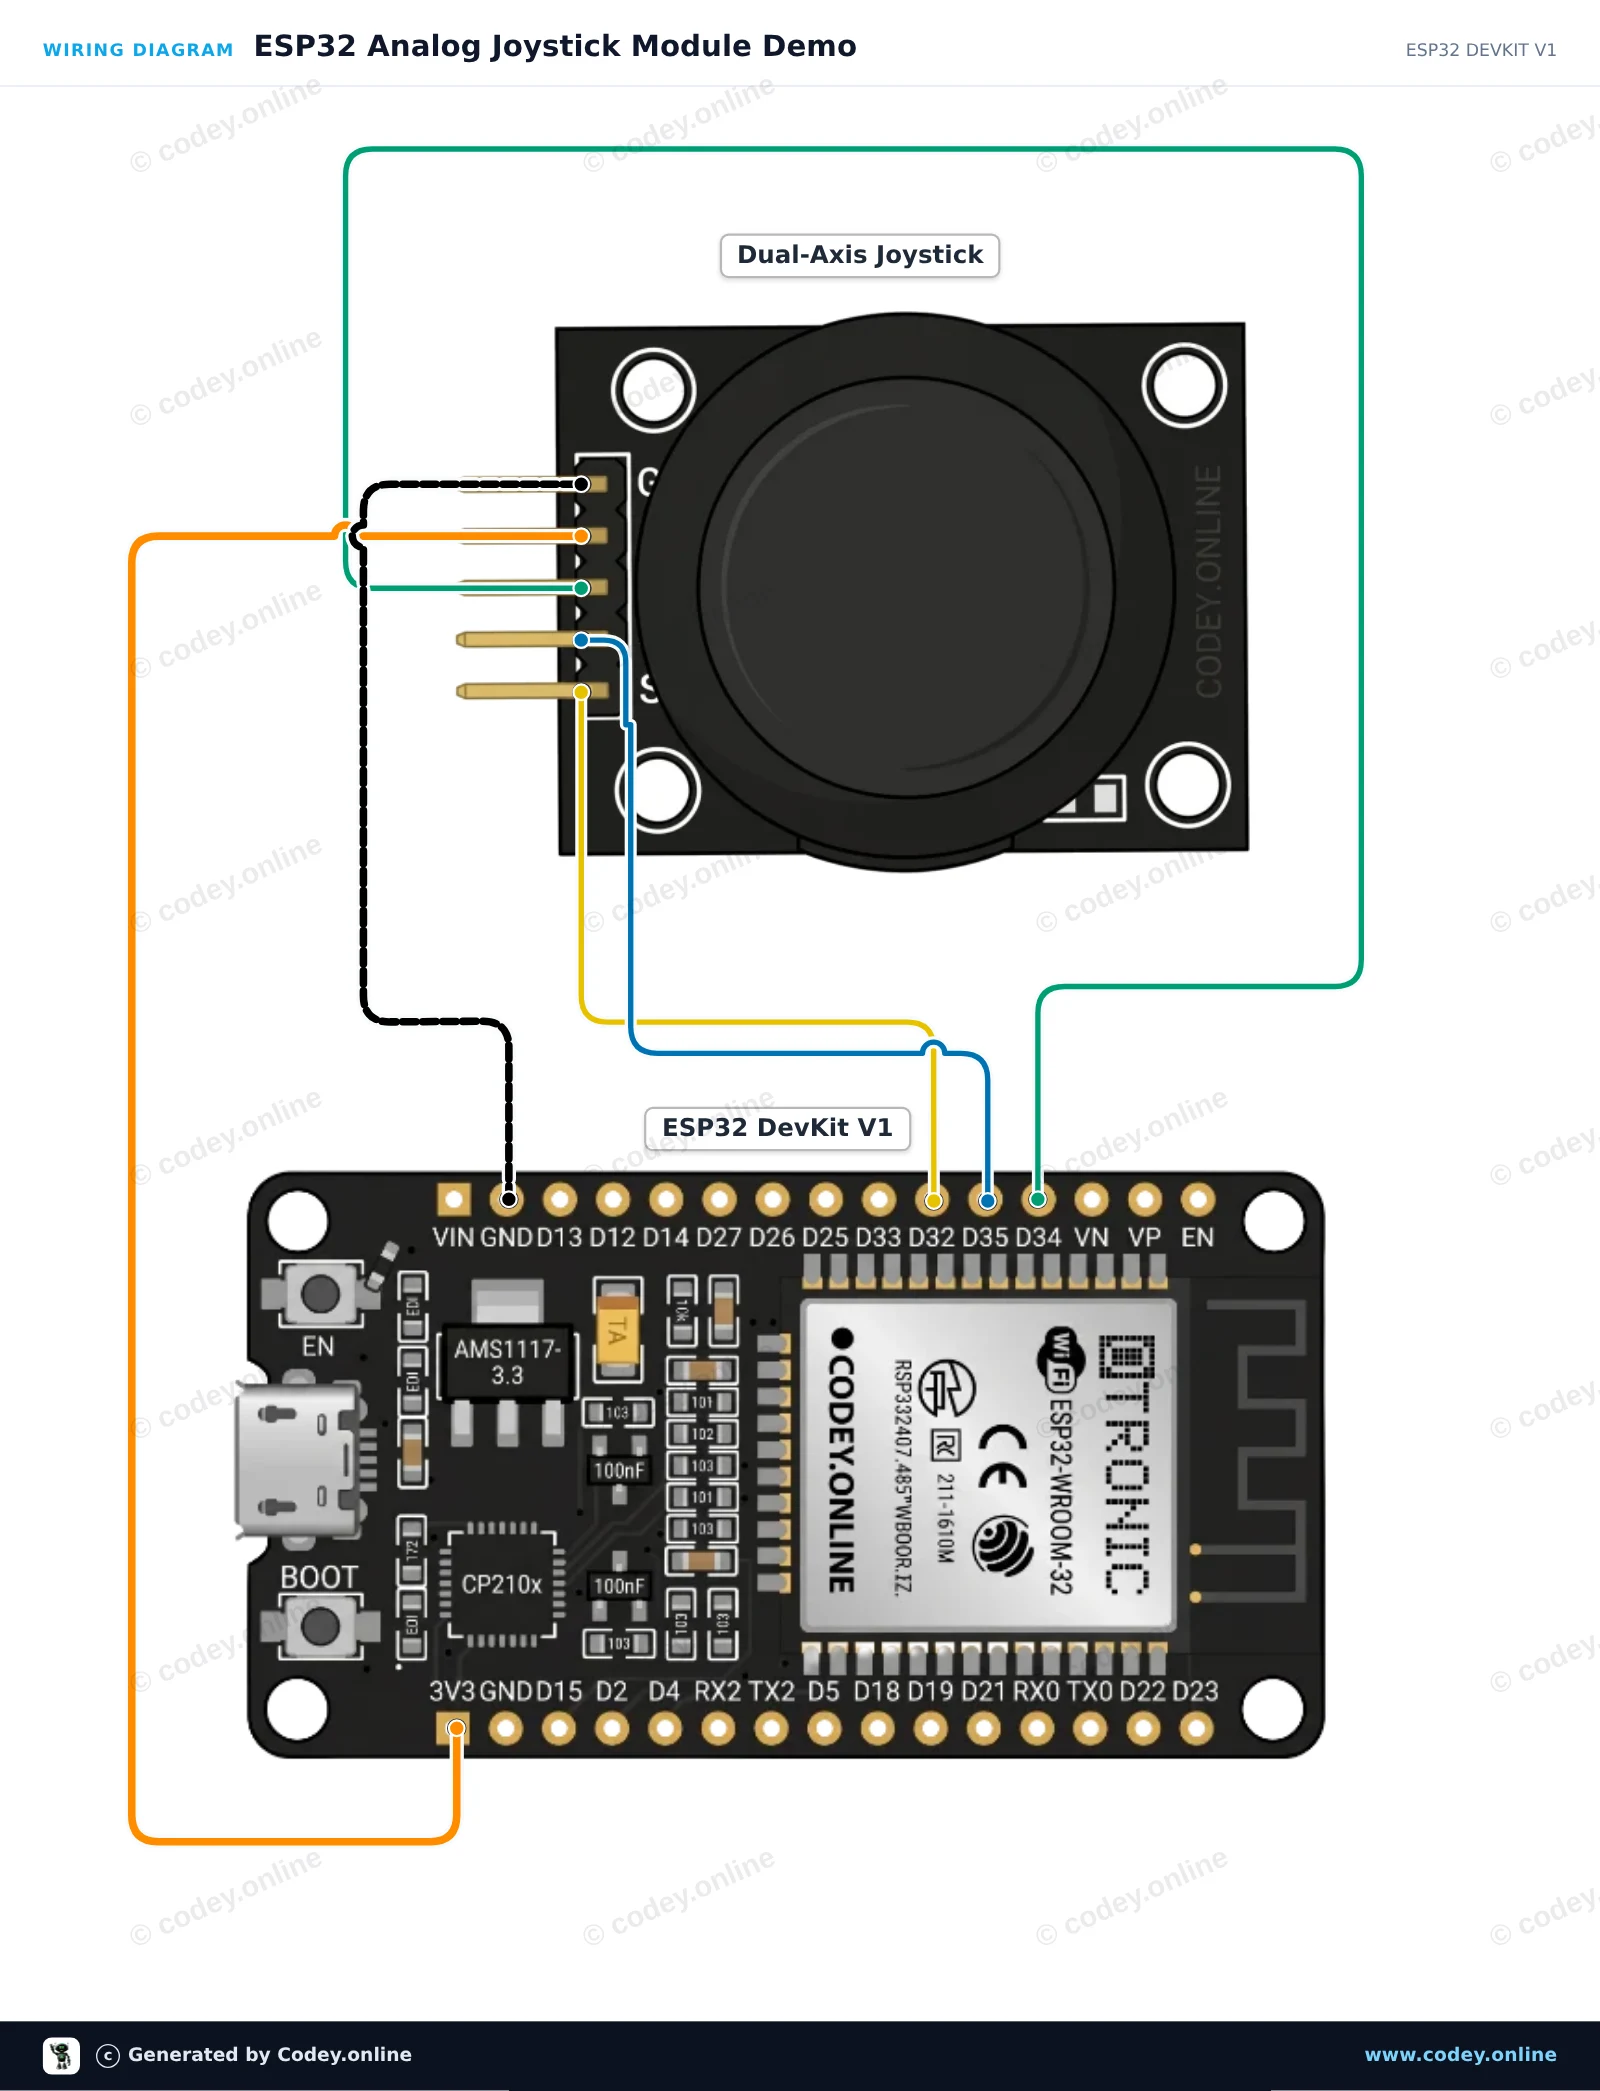
Dieses Projekt liest die X- und Y-Positionen sowie den Zustand des integrierten Drucktasters eines analogen Zwei-Achsen-Joystickmoduls aus. Der ESP32 liest die analogen Spannungen über GPIO 34 und 35 sowie den Tasterzustand über GPIO 32. Öffne den Seriellen Monitor mit 115200 baud, um die Joystick-Koordinaten und Tastendrücke in Echtzeit zu sehen.
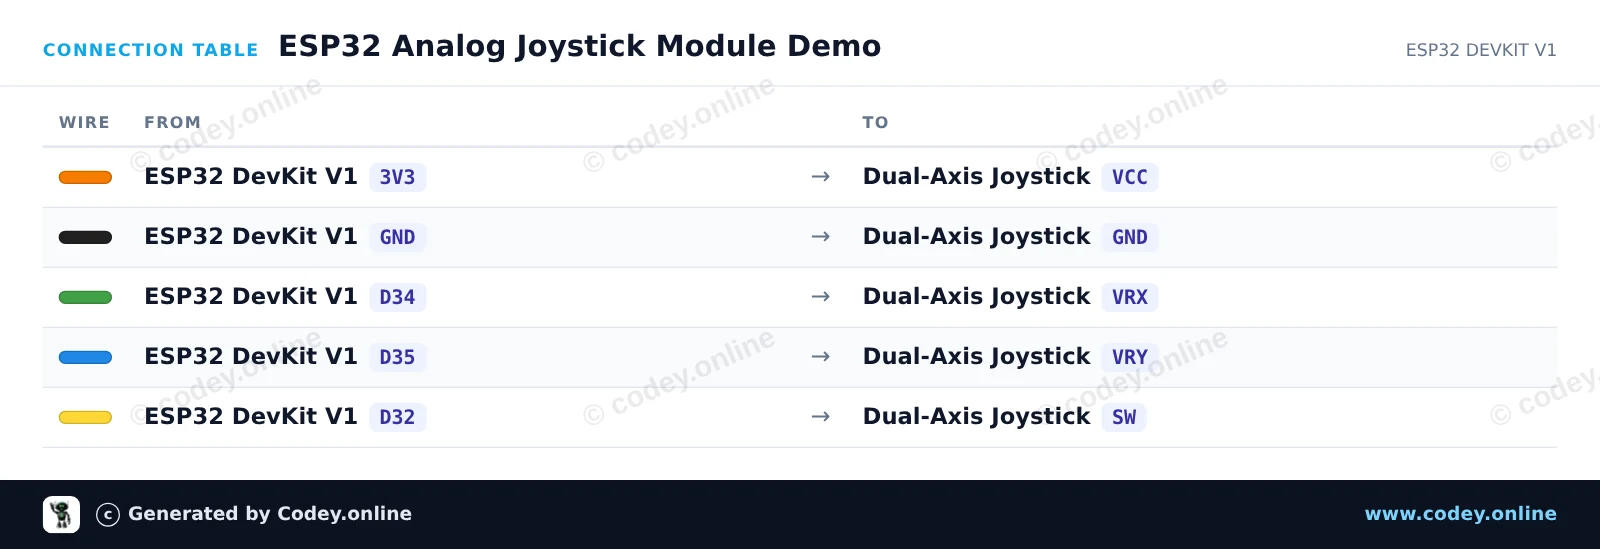
/*
 * ==================================================================
 *  Generated by Codey.online  —  https://www.codey.online
 * ==================================================================
 *  Project   : ESP32 Analog Joystick Module Demo
 *  Board     : ESP32 DEVKIT V1 (esp32:esp32:esp32doit-devkit-v1)
 *  Parts     : Joystick module
 *  Libraries : none (built-in)
 *
 *  Codey Online is an AI-powered browser IDE for Arduino and ESP32.
 *  Describe your project and Codey writes the code, draws the wiring
 *  diagram and uploads it to your board, straight from the browser.
 *  This code is free to use, modify and share, without warranty.
 * ==================================================================
 */

// Pin definitions (using bare GPIO numbers for ESP32)
const int pinVRX = 34;
const int pinVRY = 35;
const int pinSW  = 32;

void setup() {
  Serial.begin(115200);

  // Configure push-button pin with internal pull-up
  pinMode(pinSW, INPUT_PULLUP);
}

void loop() {
  // Read analog values from joystick potentiometers (0 - 4095 on ESP32)
  int xVal = analogRead(pinVRX);
  int yVal = analogRead(pinVRY);

  // Read digital state of the integrated switch (LOW when pressed)
  bool isPressed = (digitalRead(pinSW) == LOW);

  // Print the readings to the Serial Monitor
  Serial.print("X: ");
  Serial.print(xVal);
  Serial.print(" | Y: ");
  Serial.print(yVal);
  Serial.print(" | Button: ");
  Serial.println(isPressed ? "PRESSED" : "RELEASED");

  delay(100);
}Wiring diagram and example code generated by Codey.online — https://www.codey.online






 English
  Nederlands
  Frans
Frans  Italiano
  Español
  Suomi
Suomi  Polski
  Dansk
Dansk  Ελληνικά
  Български
  Čeština
  Hrvatski
  Aileen