SKU: OT822-C66 Artikelnummer: AA413 EAN: 2268898153460

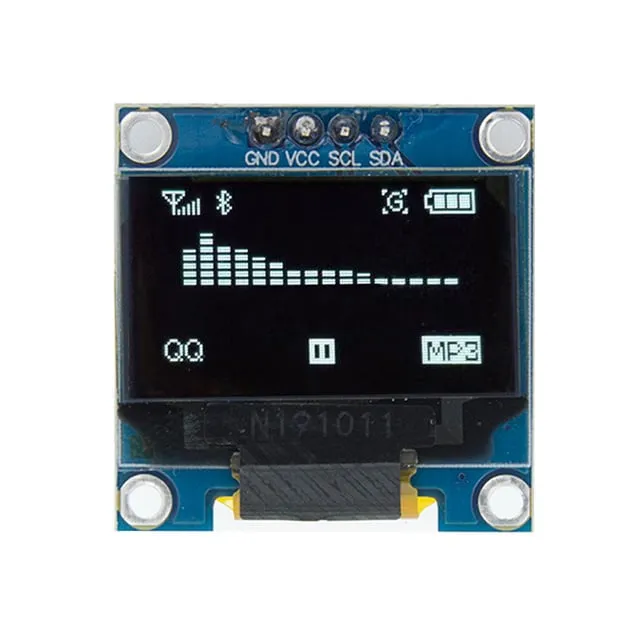
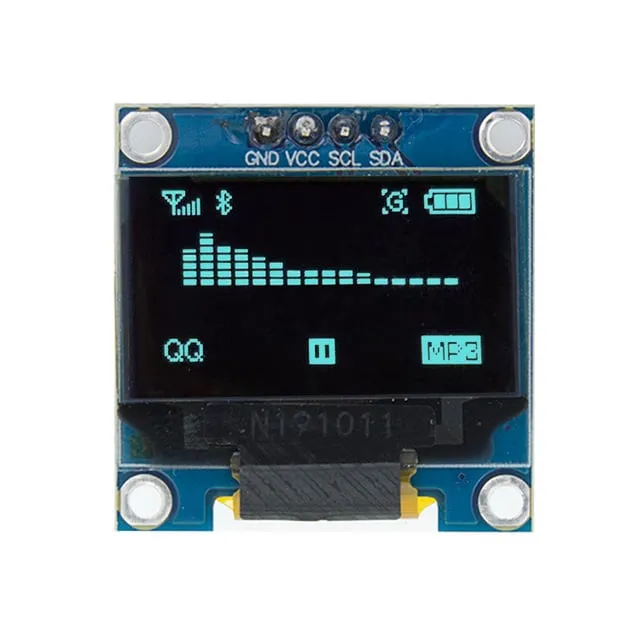
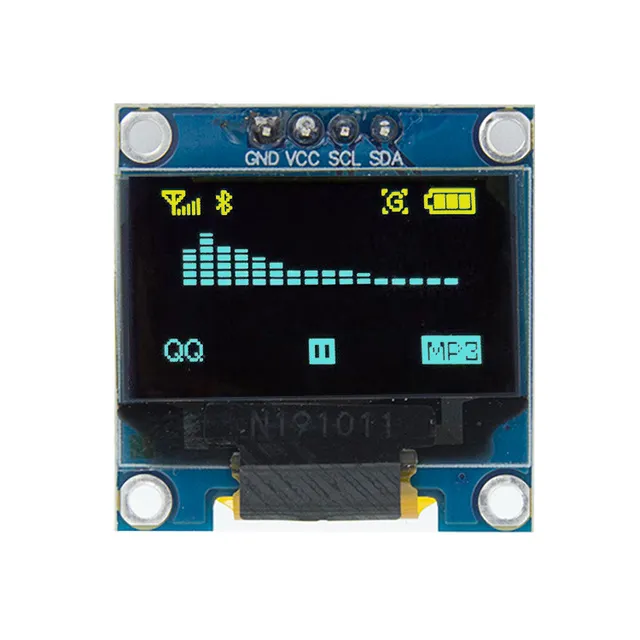
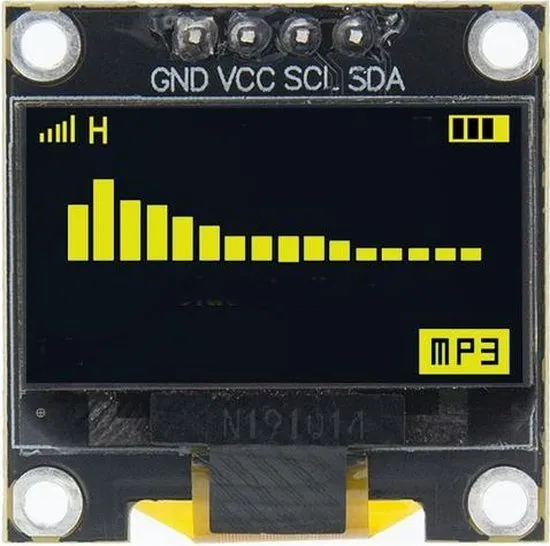
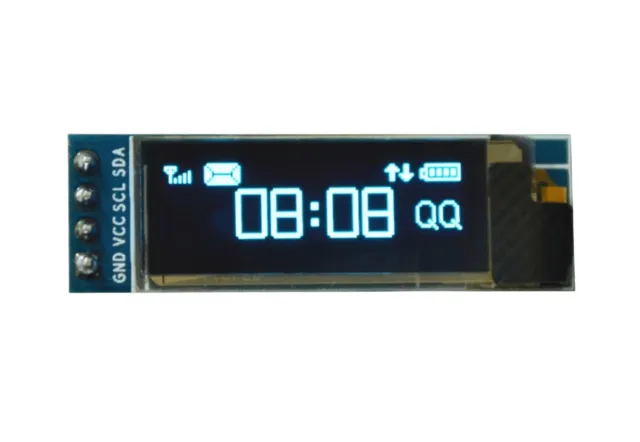
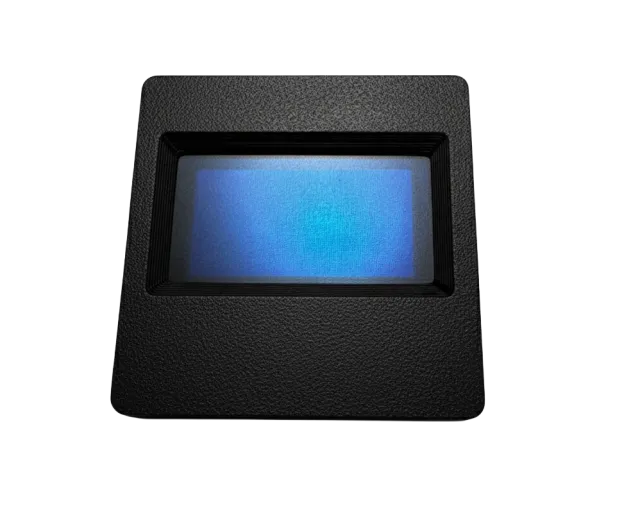
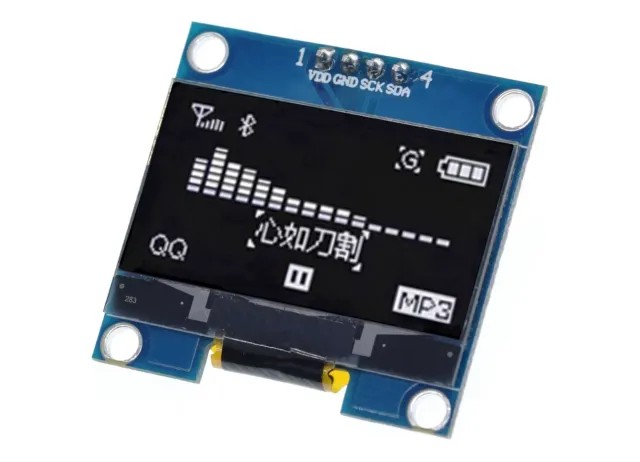
0,96 inch mini OLED-Bildschirm. Kristallklares Bild mit einer Auflösung von 128x64 Pixeln.
Funktioniert mit einer Spannungsquelle von 3v-5v. Ideal für Arduino- oder ESP32 / ESP8266-Projekte.
Die Abmessungen dieses Boards betragen nur 26,1 x 26,1 x 3,2mm.
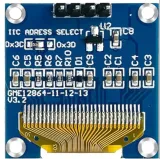
Es sind 2 i2c-Adressen auswählbar, indem der Widerstand auf der Rückseite geändert wird.
Verfügbare Adressen sind: 0x3C (default) und x3D
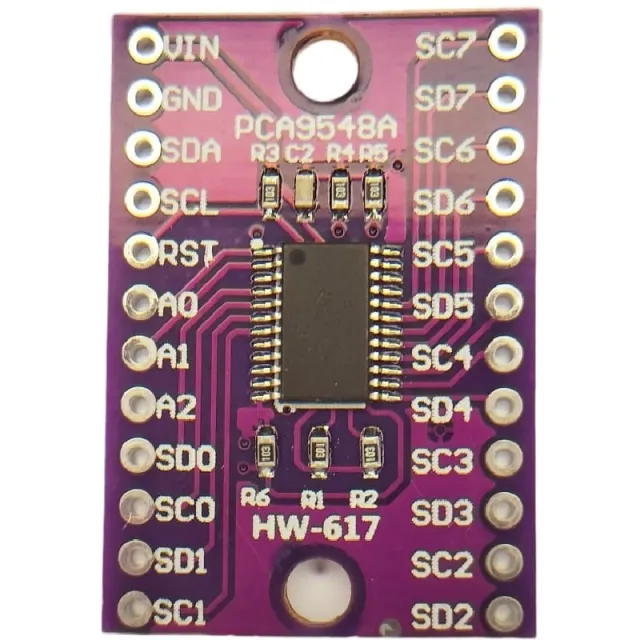
Wenn Sie mehrere OLED-Displays ansteuern möchten oder die SMD nicht löten möchten, können Sie mithilfe eines i2c mutliplexer auch bis zu 8x i2C-Displays mit derselben Adresse ansteuern.
sehen Sie hier das Anschlussdiagramm und den Beispielcode >>>
Abmessungen
Länge: 2,61cm
Breite: 2,61cm
Höhe: 0,32cm
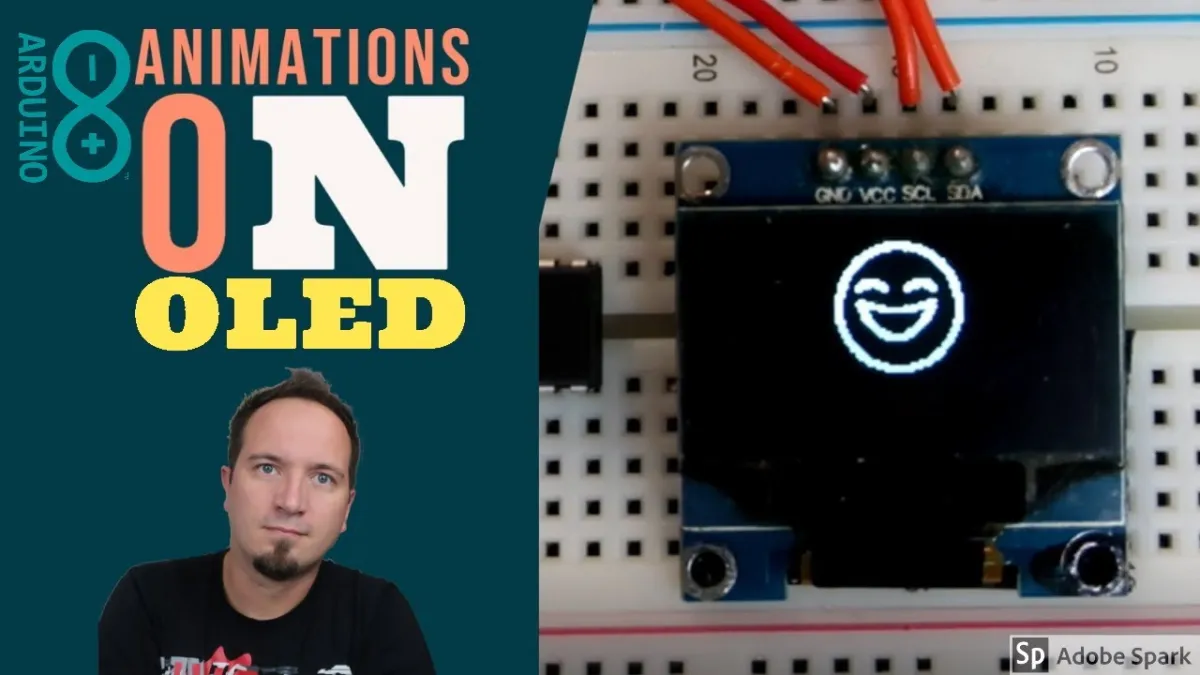
Beim Abspielen wird das Video von YouTube geladen.
So schließt du den Mini-OLED-Display wit 0.96 inch 128x64 I2C an einen Arduino UNO oder ESP32 an, mit einem Beispiel-Sketch, den du direkt hochladen kannst.
Verbinden Sie das 0,96-Zoll 128x64 I2C-OLED-Display direkt mit den I2C-Pins des Arduino Uno (A4 für SDA, A5 für SCL). Dieser Sketch verwendet standardmäßige I2C-Befehle, um den SSD1306-Controller zu initialisieren, und zeigt einen Live-Zähler sowie Text direkt an, ohne dass externe Grafikbibliotheken erforderlich sind.
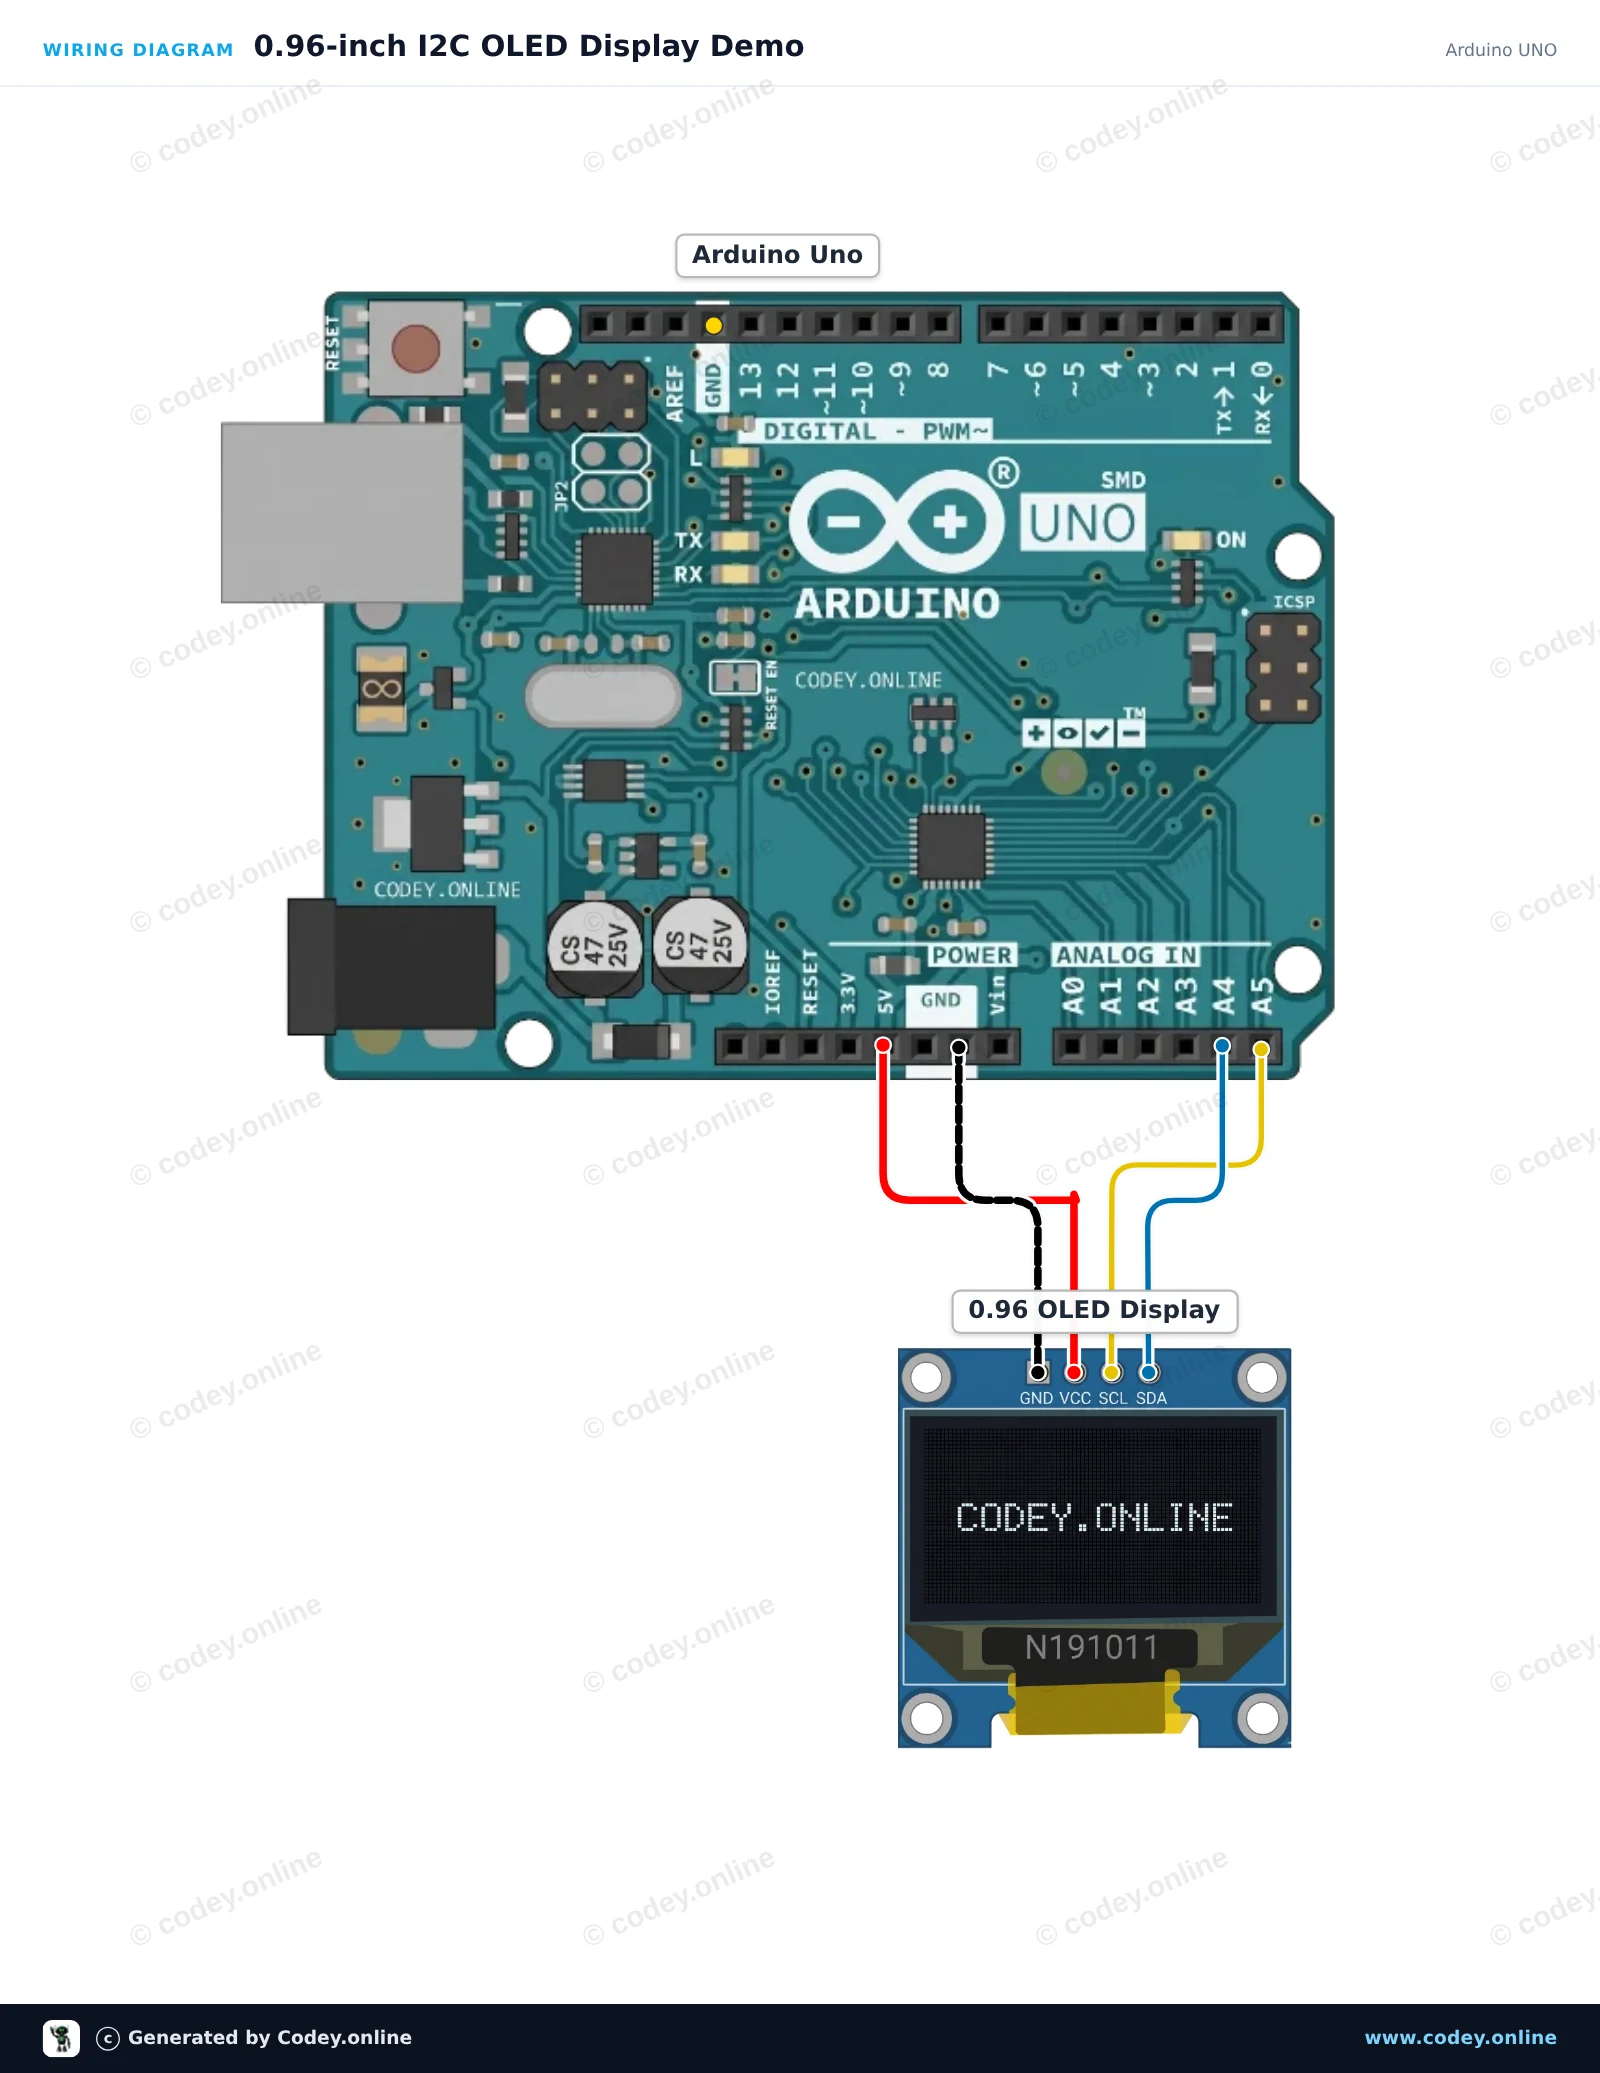
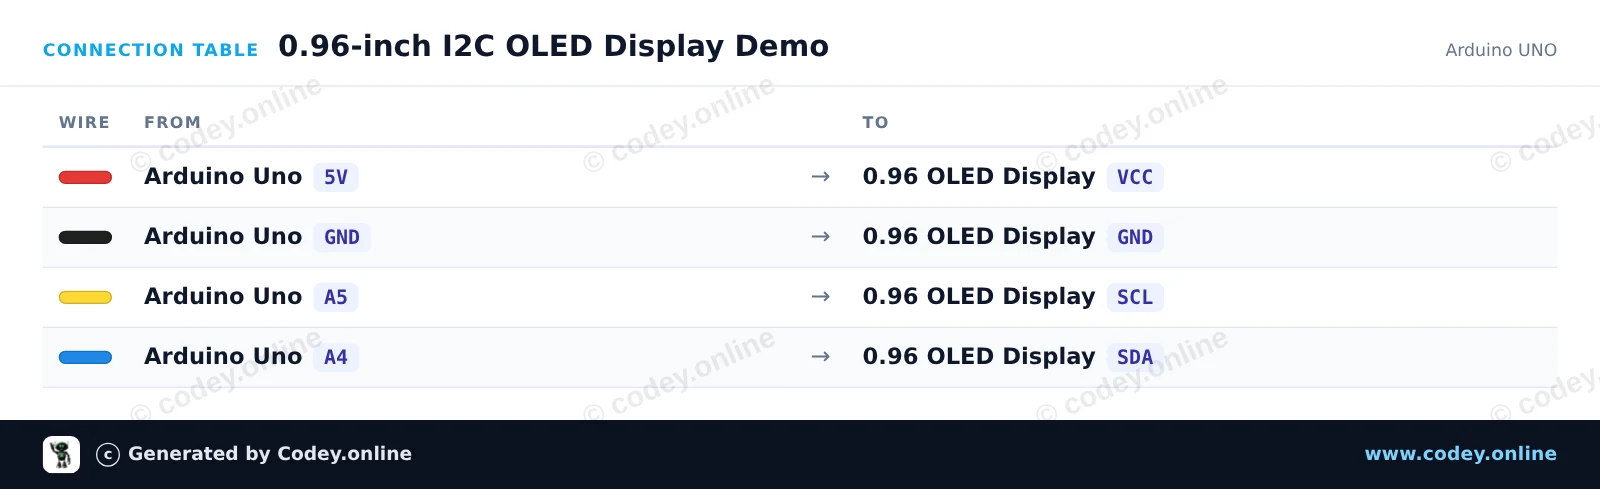
/*
 * ==================================================================
 *  Generated by Codey.online  —  https://www.codey.online
 * ==================================================================
 *  Project   : 0.96-inch I2C OLED Display Demo
 *  Board     : Arduino UNO (arduino:avr:uno)
 *  Parts     : OLED Display 0.96 inch
 *  Libraries : none (built-in)
 *
 *  Codey Online is an AI-powered browser IDE for Arduino and ESP32.
 *  Describe your project and Codey writes the code, draws the wiring
 *  diagram and uploads it to your board, straight from the browser.
 *  This code is free to use, modify and share, without warranty.
 * ==================================================================
 */

#include <Wire.h>

const uint8_t OLED_ADDR = 0x3C;
const uint8_t OLED_WIDTH = 128;
const uint8_t OLED_HEIGHT = 64;
uint8_t buffer[1024];
int counter = 0;

const uint8_t font5x7[][5] = {
  {0x00, 0x00, 0x00, 0x00, 0x00}, // space
  {0x7E, 0x11, 0x11, 0x11, 0x7E}, // A
  {0x7F, 0x49, 0x49, 0x49, 0x36}, // B
  {0x3E, 0x41, 0x41, 0x41, 0x22}, // C
  {0x7F, 0x41, 0x41, 0x22, 0x1C}, // D
  {0x7F, 0x49, 0x49, 0x49, 0x41}, // E
  {0x7F, 0x09, 0x09, 0x09, 0x01}, // F
  {0x3E, 0x41, 0x49, 0x49, 0x7A}, // G
  {0x7F, 0x08, 0x08, 0x08, 0x7F}, // H
  {0x00, 0x41, 0x7F, 0x41, 0x00}, // I
  {0x7F, 0x40, 0x40, 0x40, 0x40}, // L
  {0x7F, 0x02, 0x0C, 0x02, 0x7F}, // M
  {0x7F, 0x04, 0x08, 0x10, 0x7F}, // N
  {0x3E, 0x41, 0x41, 0x41, 0x3E}, // O
  {0x7F, 0x09, 0x09, 0x09, 0x06}, // P
  {0x7F, 0x09, 0x19, 0x29, 0x46}, // R
  {0x46, 0x49, 0x49, 0x49, 0x31}, // S
  {0x01, 0x01, 0x7F, 0x01, 0x01}, // T
  {0x3F, 0x40, 0x40, 0x40, 0x3F}, // U
  {0x3E, 0x51, 0x49, 0x45, 0x3E}, // 0
  {0x00, 0x42, 0x7F, 0x40, 0x00}, // 1
  {0x42, 0x61, 0x51, 0x49, 0x46}, // 2
  {0x21, 0x41, 0x45, 0x4B, 0x31}, // 3
  {0x18, 0x14, 0x12, 0x7F, 0x10}, // 4
  {0x27, 0x45, 0x45, 0x45, 0x39}, // 5
  {0x3C, 0x4A, 0x49, 0x49, 0x30}, // 6
  {0x01, 0x71, 0x09, 0x05, 0x03}, // 7
  {0x36, 0x49, 0x49, 0x49, 0x36}, // 8
  {0x06, 0x49, 0x49, 0x29, 0x1E}, // 9
  {0x00, 0x36, 0x36, 0x00, 0x00}, // :
  {0x00, 0x60, 0x60, 0x00, 0x00}  // .
};

int charIndex(char c) {
  if (c >= 'a' && c <= 'z') c -= 32;
  if (c == ' ') return 0;
  if (c == 'A') return 1; if (c == 'B') return 2; if (c == 'C') return 3;
  if (c == 'D') return 4; if (c == 'E') return 5; if (c == 'F') return 6;
  if (c == 'G') return 7; if (c == 'H') return 8; if (c == 'I') return 9;
  if (c == 'L') return 10; if (c == 'M') return 11; if (c == 'N') return 12;
  if (c == 'O') return 13; if (c == 'P') return 14; if (c == 'R') return 15;
  if (c == 'S') return 16; if (c == 'T') return 17; if (c == 'U') return 18;
  if (c >= '0' && c <= '9') return 19 + (c - '0');
  if (c == ':') return 29;
  if (c == '.') return 30;
  return 0;
}

void sendCmd(uint8_t cmd) {
  Wire.beginTransmission(OLED_ADDR);
  Wire.write(0x00);
  Wire.write(cmd);
  Wire.endTransmission();
}

void sendCmd2(uint8_t cmd, uint8_t val) {
  Wire.beginTransmission(OLED_ADDR);
  Wire.write(0x00);
  Wire.write(cmd);
  Wire.write(val);
  Wire.endTransmission();
}

void clearDisplay() {
  memset(buffer, 0, sizeof(buffer));
}

void setPixel(int x, int y, bool state) {
  if (x < 0 || x >= OLED_WIDTH || y < 0 || y >= OLED_HEIGHT) return;
  int idx = x + (y / 8) * OLED_WIDTH;
  if (state) buffer[idx] |= (1 << (y % 8));
  else buffer[idx] &= ~(1 << (y % 8));
}

void printText(int x, int y, const char* str) {
  while (*str) {
    int idx = charIndex(*str++);
    for (int col = 0; col < 5; col++) {
      uint8_t line = font5x7[idx][col];
      for (int row = 0; row < 7; row++) {
        setPixel(x + col, y + row, (line >> row) & 1);
      }
    }
    x += 6;
  }
}

void updateDisplay() {
  sendCmd(0x20); sendCmd(0x00);
  sendCmd2(0x21, 0x00); sendCmd(0x7F);
  sendCmd2(0x22, 0x00); sendCmd(0x07);
  for (uint16_t i = 0; i < 1024; i += 16) {
    Wire.beginTransmission(OLED_ADDR);
    Wire.write(0x40);
    for (uint8_t j = 0; j < 16; j++) {
      Wire.write(buffer[i + j]);
    }
    Wire.endTransmission();
  }
}

void setup() {
  Serial.begin(115200);
  Wire.begin();
  delay(50);
  sendCmd(0xAE); sendCmd2(0xD5, 0x80); sendCmd2(0xA8, 0x3F);
  sendCmd2(0xD3, 0x00); sendCmd(0x40); sendCmd2(0x8D, 0x14);
  sendCmd(0xA1); sendCmd(0xC8); sendCmd2(0xDA, 0x12);
  sendCmd2(0x81, 0xCF); sendCmd2(0xD9, 0xF1); sendCmd2(0xDB, 0x40);
  sendCmd(0xA4); sendCmd(0xA6); sendCmd(0xAF);
  Serial.println(F("OLED Initialized"));
}

void loop() {
  clearDisplay();
  printText(0, 0, "OLED 0.96 INCH");
  printText(0, 16, "ARDUINO UNO");

  char buf[16];
  itoa(counter, buf, 10);
  printText(0, 32, "COUNT: ");
  printText(42, 32, buf);

  int barWidth = (counter % 120);
  for (int x = 0; x <= barWidth; x++) {
    for (int y = 48; y < 58; y++) {
      setPixel(x, y, true);
    }
  }

  updateDisplay();
  counter++;
  delay(100);
}Wiring diagram and example code generated by Codey.online — https://www.codey.online
Dieses Projekt zeigt, wie man mit dem ESP32 Text und Zahlen auf einem 0.96-inch I2C OLED-Display anschließt und anzeigt. Der Sketch initialisiert das Display und aktualisiert jede Sekunde einen Live-Zähler. Stelle vor dem Hochladen sicher, dass die Bibliotheken Adafruit SSD1306 und Adafruit GFX installiert sind.
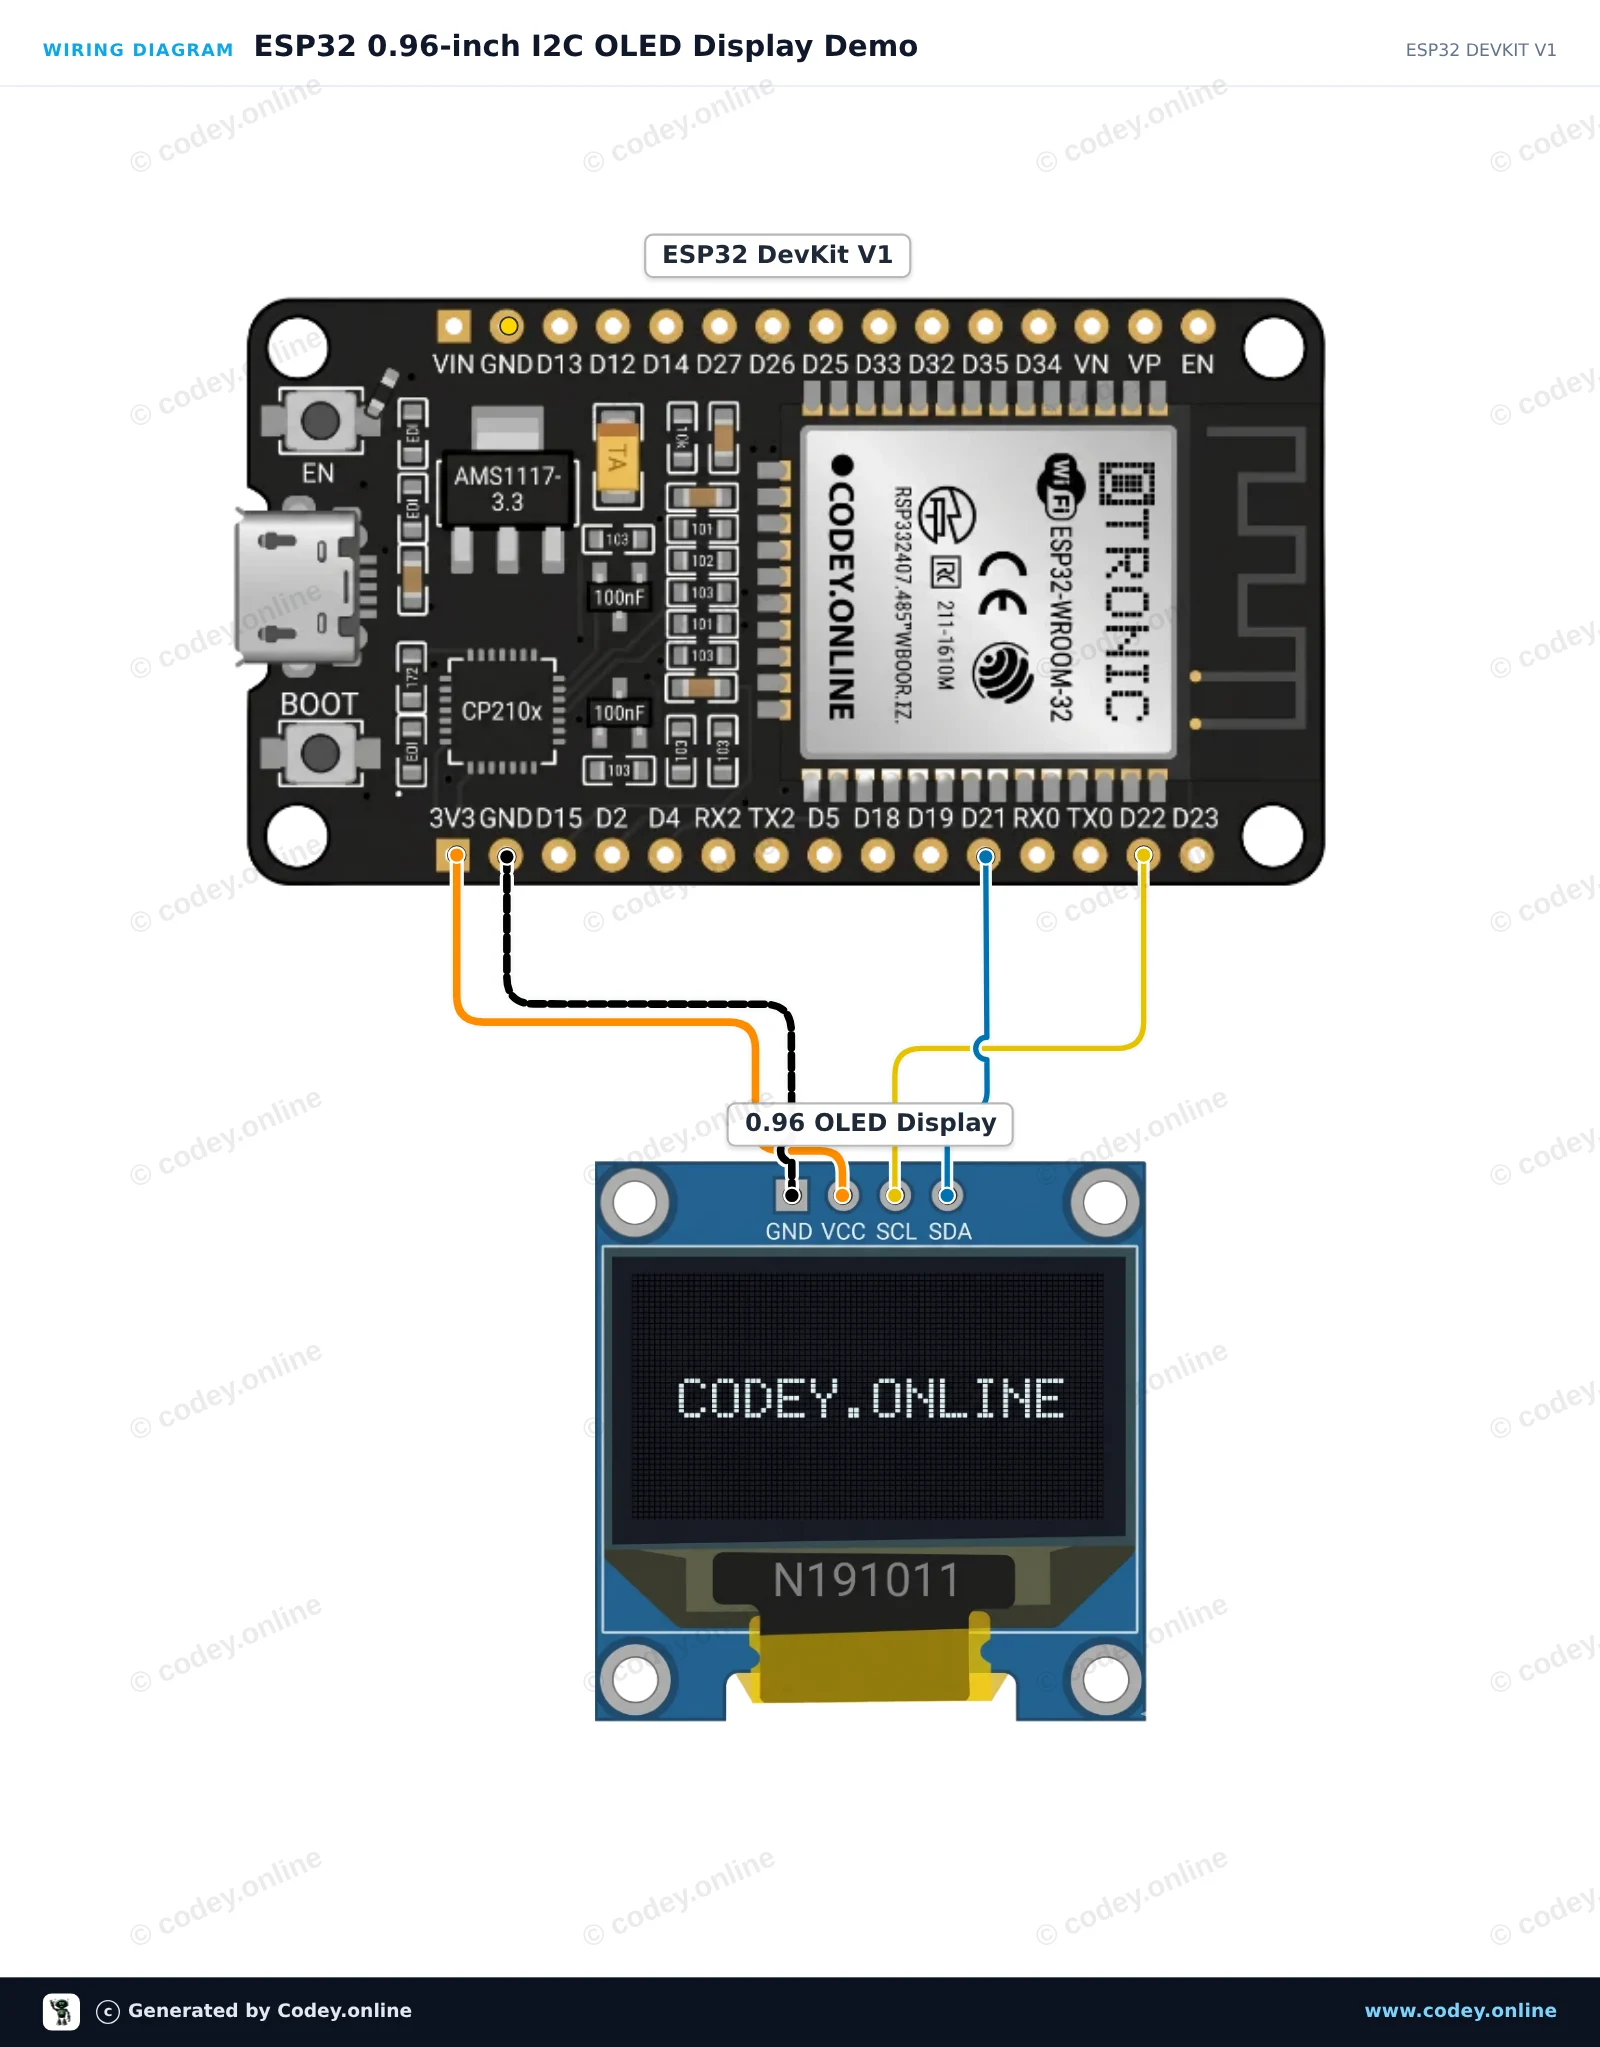
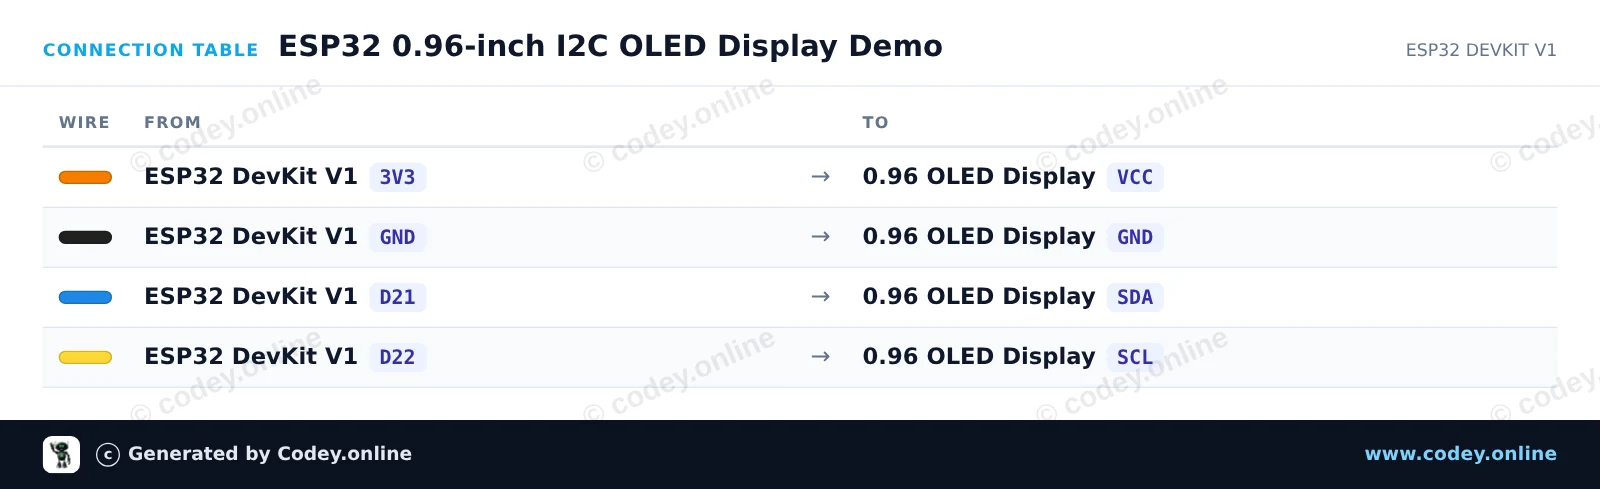
/*
 * ==================================================================
 *  Generated by Codey.online  —  https://www.codey.online
 * ==================================================================
 *  Project   : ESP32 0.96-inch I2C OLED Display Demo
 *  Board     : ESP32 DEVKIT V1 (esp32:esp32:esp32doit-devkit-v1)
 *  Parts     : OLED Display 0.96 inch
 *  Libraries : Adafruit SSD1306 2.5.16, Adafruit GFX Library 1.12.6
 *
 *  Codey Online is an AI-powered browser IDE for Arduino and ESP32.
 *  Describe your project and Codey writes the code, draws the wiring
 *  diagram and uploads it to your board, straight from the browser.
 *  This code is free to use, modify and share, without warranty.
 * ==================================================================
 */

#include <Wire.h>
#include <Adafruit_GFX.h>
#include <Adafruit_SSD1306.h>

#define SCREEN_WIDTH 128
#define SCREEN_HEIGHT 64
#define OLED_RESET    -1
#define SCREEN_ADDRESS 0x3C

Adafruit_SSD1306 display(SCREEN_WIDTH, SCREEN_HEIGHT, &Wire, OLED_RESET);

int counter = 0;

void setup() {
  Serial.begin(115200);

  // Initialize I2C on ESP32 default pins (SDA: 21, SCL: 22)
  Wire.begin(21, 22);

  if (!display.begin(SSD1306_SWITCHCAPVCC, SCREEN_ADDRESS)) {
    Serial.println(F("SSD1306 allocation failed"));
    while (true); // Freeze
  }

  display.clearDisplay();
  display.setTextColor(SSD1306_WHITE);
  display.setTextSize(1);
  display.setCursor(0, 0);
  display.println("ESP32 OLED Test");
  display.display();
  delay(1500);
}

void loop() {
  display.clearDisplay();

  // Header text
  display.setTextSize(1);
  display.setCursor(0, 0);
  display.println("ESP32 + SSD1306");

  // Separator line
  display.drawLine(0, 12, 127, 12, SSD1306_WHITE);

  // Counter display
  display.setCursor(0, 20);
  display.println("Counter value:");

  display.setTextSize(2);
  display.setCursor(0, 36);
  display.print(counter);

  display.display();

  counter++;
  delay(1000);
}Benötigte Bibliotheken: Adafruit SSD1306 2.5.16, Adafruit GFX Library 1.12.6
Wiring diagram and example code generated by Codey.online — https://www.codey.online





 English
  Nederlands
  Frans
Frans  Italiano
  Español
  Suomi
Suomi  Polski
  Dansk
Dansk  Ελληνικά
  Български
  Čeština
  Hrvatski
  Aileen