SKU: OT824-C65 Artikelnummer: XH143 EAN: 7420129383786

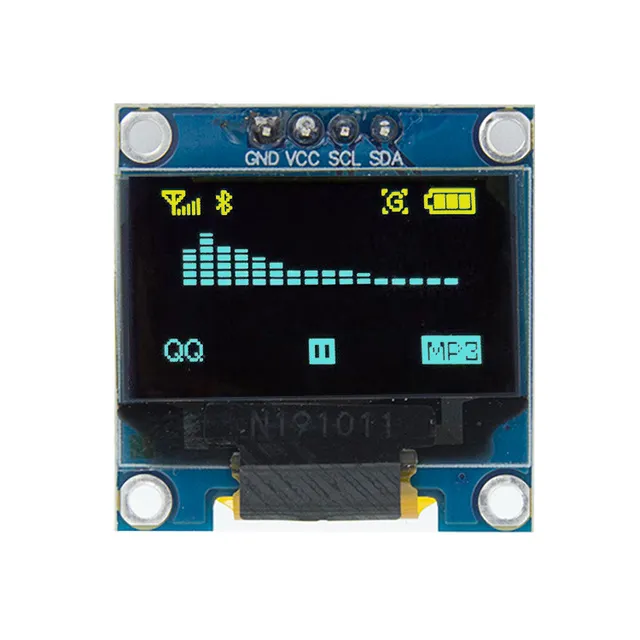
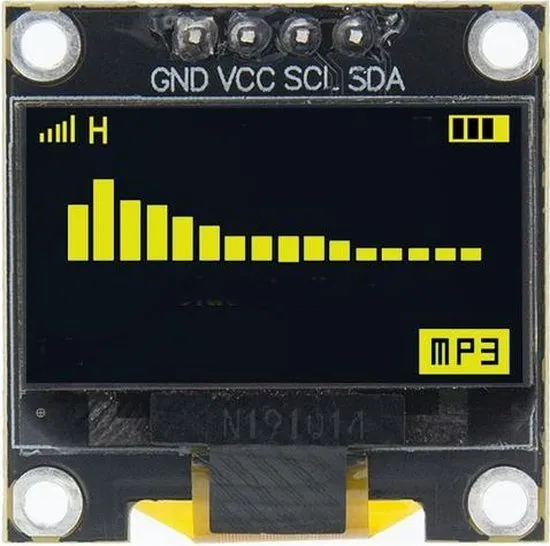
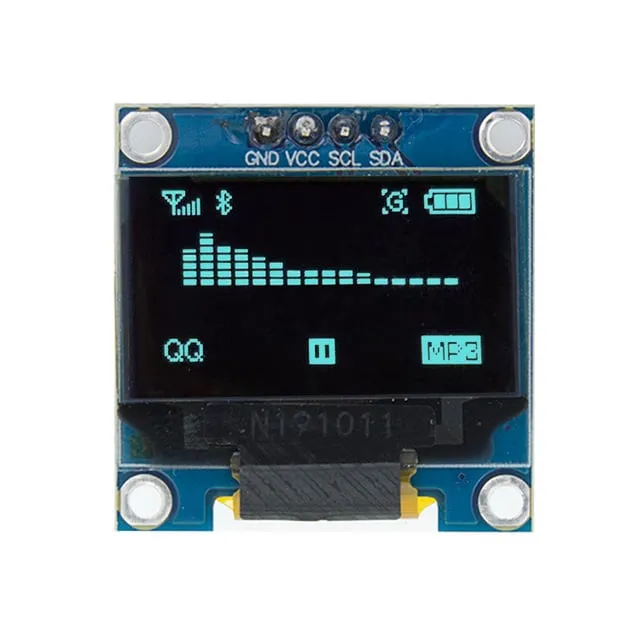
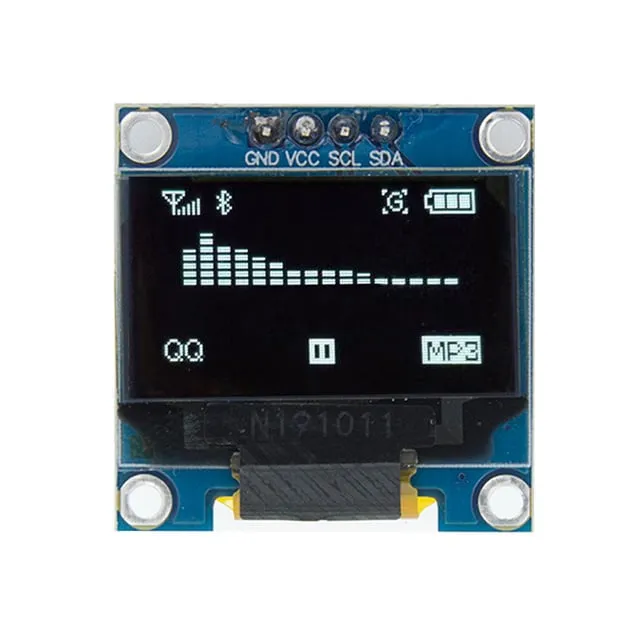
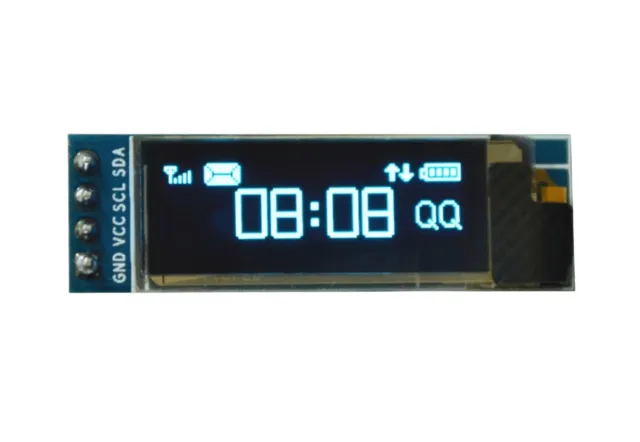
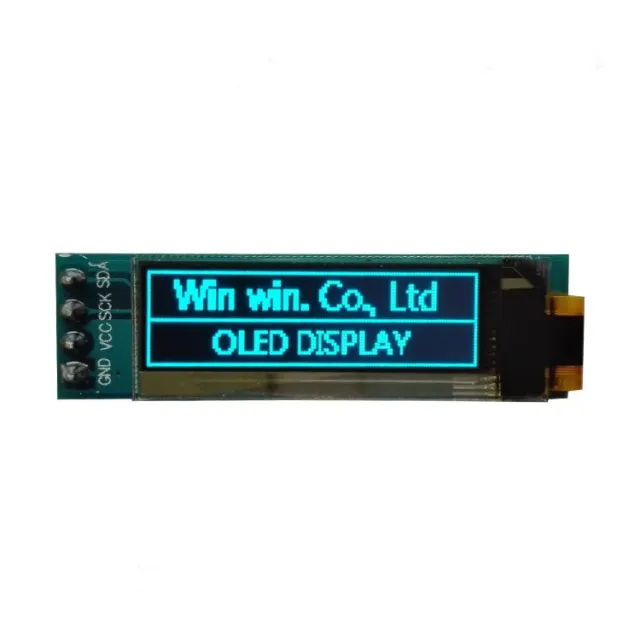
0,96 inch mini 2 Farben (gelb/blau) OLED-Bildschirm. Kristallklares Bild mit einer Auflösung von 128x64 pixels.
ACHTUNG: Dies ist KEIN Full-Color-OLED-Bildschirm. Der obere Rand der Pixel ist gelb (16 pixels) und der untere Teil ist blau (48 pixels).
Funktioniert mit einer Stromquelle von 3v-5v. Ideal für Arduino- oder ESP32 / ESP8266-Projekte.
Die Abmessungen dieses Boards betragen nur 26,1 x 26,1 x 3,2mm.
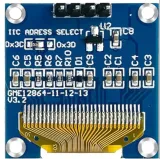
Es sind 2 i2c-Adressen auswählbar, indem der Widerstand auf der Rückseite geändert wird.
Verfügbare Adressen sind: 0x3C (default) und x3D
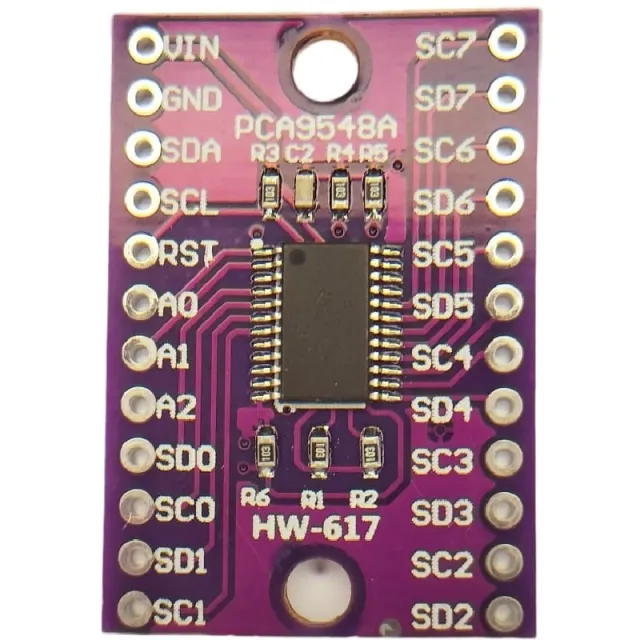
Wenn Sie mehrere OLED-Displays ansteuern möchten oder die SMD nicht löten wollen, können Sie mithilfe eines i2c mutliplexer auch bis zu 8x i2C-Displays mit derselben Adresse ansteuern.
Abmessungen
Länge: 2,61cm
Breite: 2,61cm
Höhe: 0,32cm
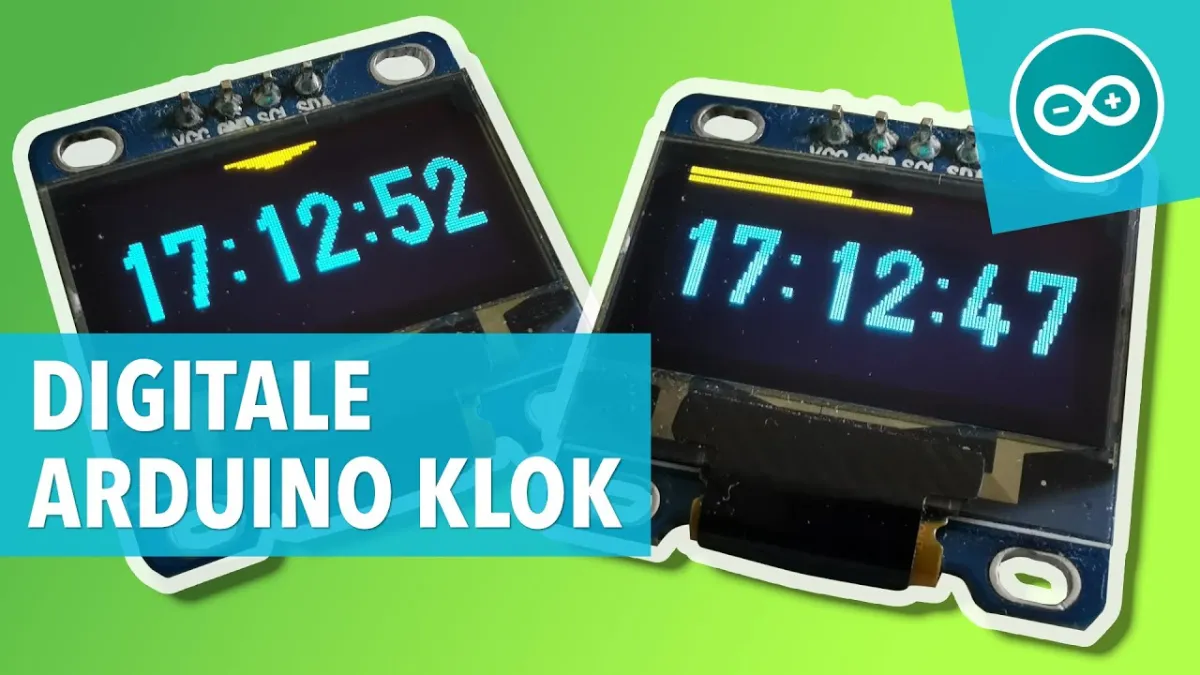
Beim Abspielen wird das Video von YouTube geladen.
So schließt du den Mini OLED-Display gelb/blau 0.96 inch 128x64 I2C an einen Arduino UNO oder ESP32 an, mit einem Beispiel-Sketch, den du direkt hochladen kannst.
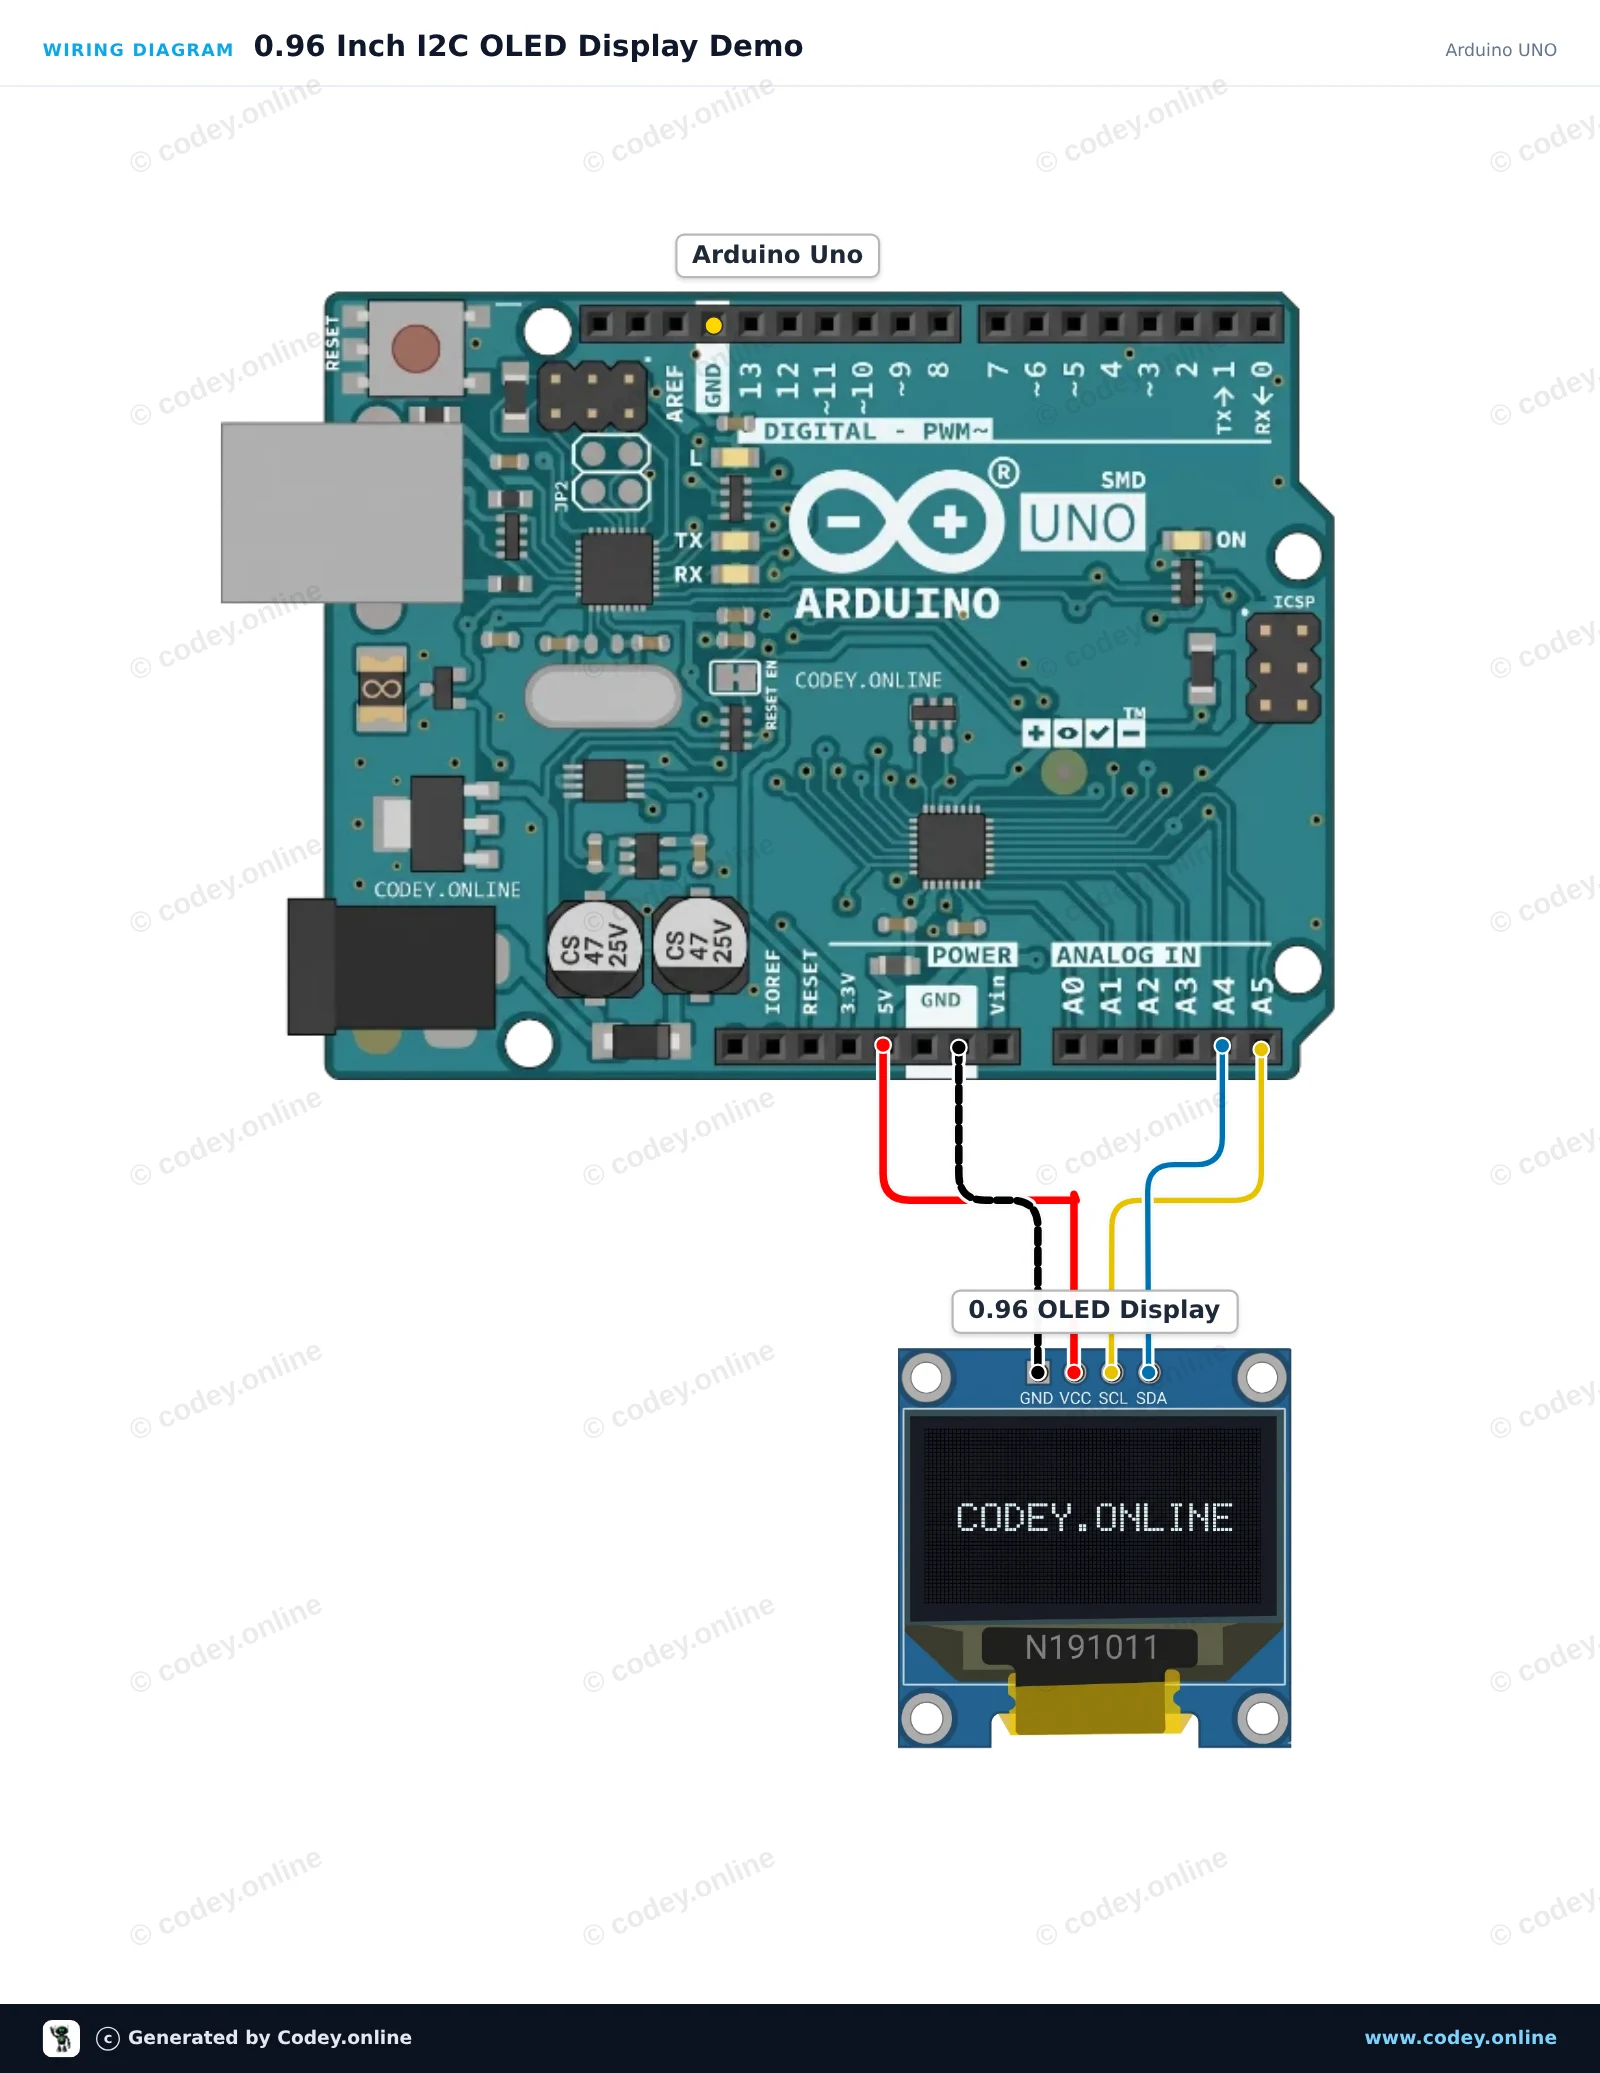
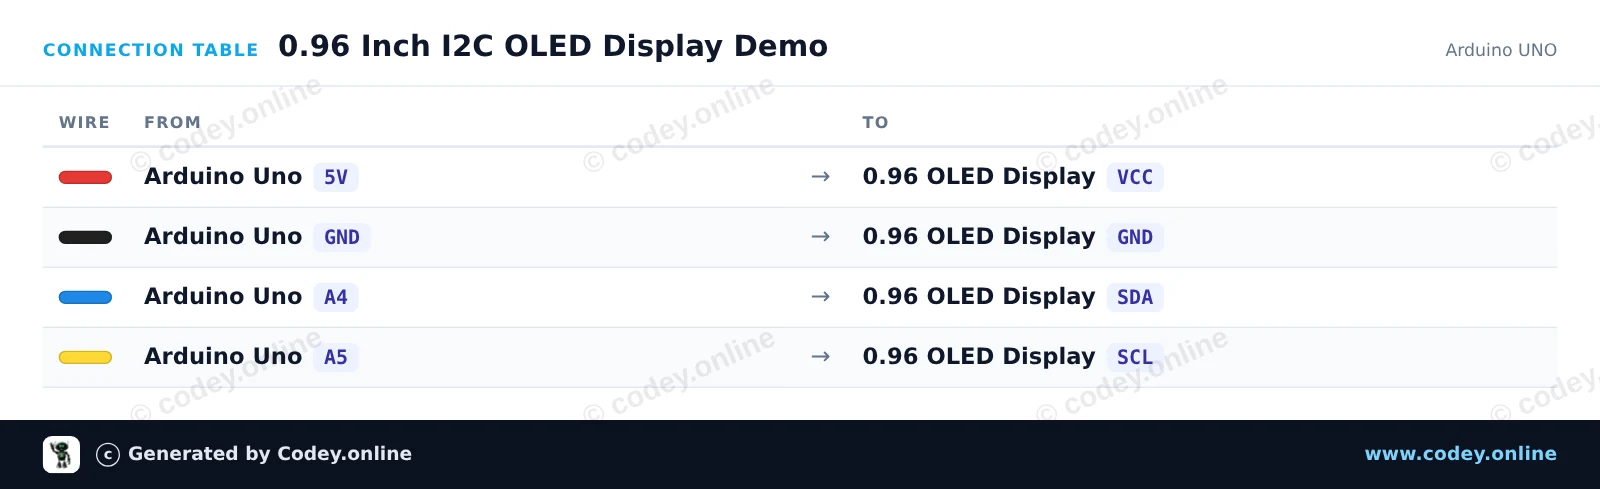
Dieses Projekt zeigt dynamischen Text, die Laufzeit und einen animierten Fortschrittsbalken auf einem 0.96-inch SSD1306 OLED-Display mit der leichten U8g2-Bibliothek. Verbinde das Display per I2C mit den analogen Pins A4 und A5 des Arduino Uno und versorge es mit 5V, um zu sehen, wie sich Zähler und Grafiken flüssig aktualisieren.
/*
 * ==================================================================
 *  Generated by Codey.online  —  https://www.codey.online
 * ==================================================================
 *  Project   : 0.96 Inch I2C OLED Display Demo
 *  Board     : Arduino UNO (arduino:avr:uno)
 *  Parts     : OLED Display 0.96 inch
 *  Libraries : U8g2 2.36.19
 *
 *  Codey Online is an AI-powered browser IDE for Arduino and ESP32.
 *  Describe your project and Codey writes the code, draws the wiring
 *  diagram and uploads it to your board, straight from the browser.
 *  This code is free to use, modify and share, without warranty.
 * ==================================================================
 */

#include <Wire.h>
#include <U8g2lib.h>

// Initialize U8g2 in page-buffer mode for SSD1306 128x64 I2C display
U8G2_SSD1306_128X64_NONAME_1_HW_I2C u8g2(U8G2_R0, /* reset=*/ U8X8_PIN_NONE);

int counter = 0;

void setup() {
  u8g2.begin();
}

void loop() {
  u8g2.firstPage();
  do {
    // Title Header
    u8g2.setFont(u8g2_font_ncenB08_tr);
    u8g2.drawStr(0, 10, "0.96\" OLED Demo");
    u8g2.drawHLine(0, 13, 128);

    // Text info
    u8g2.setFont(u8g2_font_6x10_tr);
    u8g2.drawStr(0, 28, "Uptime:");
    u8g2.setCursor(55, 28);
    u8g2.print(millis() / 1000);
    u8g2.print(" s");

    u8g2.drawStr(0, 42, "Count:");
    u8g2.setCursor(55, 42);
    u8g2.print(counter);

    // Animated progress bar
    int barWidth = (counter % 124);
    u8g2.drawFrame(0, 50, 128, 12);
    u8g2.drawBox(2, 52, barWidth, 8);
  } while (u8g2.nextPage());

  counter++;
  delay(100);
}Benötigte Bibliotheken: U8g2 2.36.19
Wiring diagram and example code generated by Codey.online — https://www.codey.online
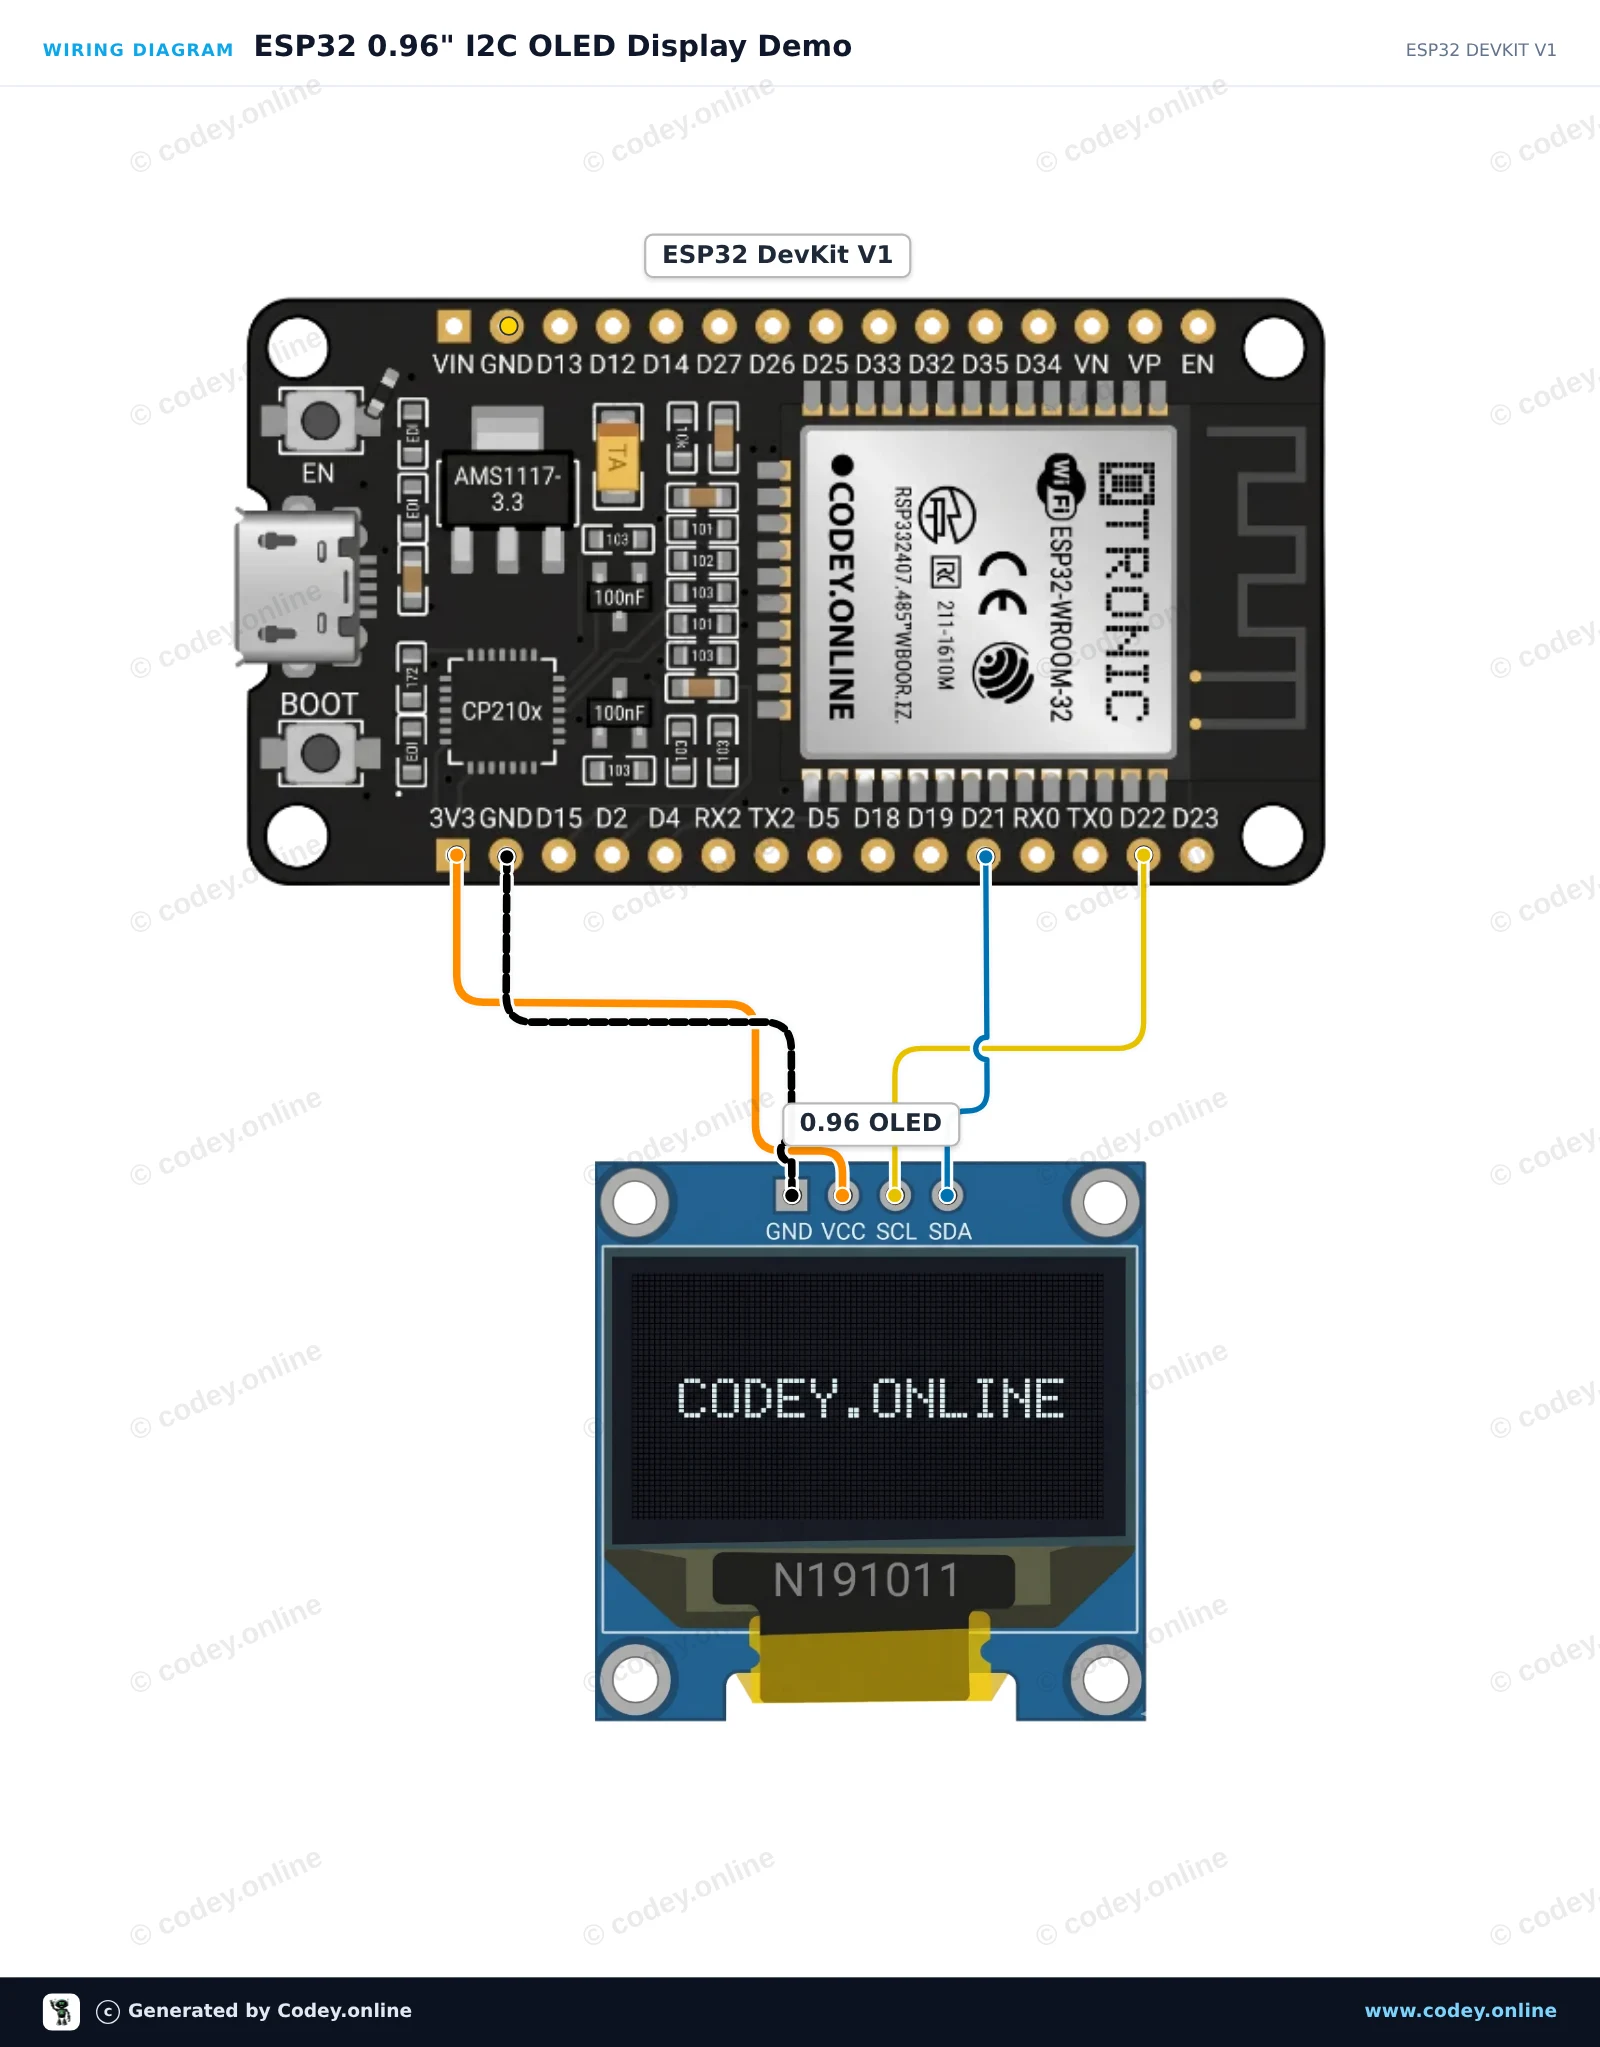
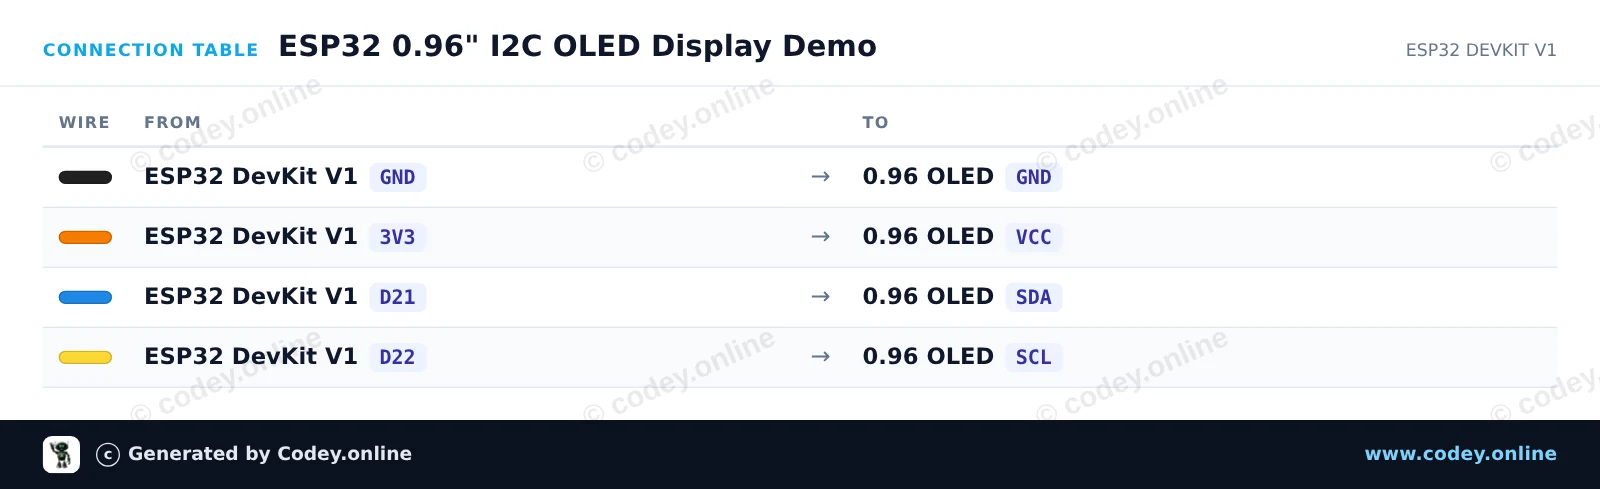
Dieses Projekt zeigt, wie man ein 0,96-Zoll-I2C-OLED-Display (SSD1306) mit einem ESP32-Board verbindet. Der Sketch initialisiert das Display und zeigt einen live aktualisierten Zähler sowie Beispieltext an.
/*
 * ==================================================================
 *  Generated by Codey.online  —  https://www.codey.online
 * ==================================================================
 *  Project   : ESP32 0.96" I2C OLED Display Demo
 *  Board     : ESP32 DEVKIT V1 (esp32:esp32:esp32doit-devkit-v1)
 *  Parts     : OLED Display 0.96 inch
 *  Libraries : Adafruit SSD1306 2.5.16, Adafruit GFX Library 1.12.6
 *
 *  Codey Online is an AI-powered browser IDE for Arduino and ESP32.
 *  Describe your project and Codey writes the code, draws the wiring
 *  diagram and uploads it to your board, straight from the browser.
 *  This code is free to use, modify and share, without warranty.
 * ==================================================================
 */

#include <Wire.h>
#include <Adafruit_GFX.h>
#include <Adafruit_SSD1306.h>

#define SCREEN_WIDTH 128
#define SCREEN_HEIGHT 64
#define OLED_RESET    -1
#define SCREEN_ADDRESS 0x3C

Adafruit_SSD1306 display(SCREEN_WIDTH, SCREEN_HEIGHT, &Wire, OLED_RESET);

int counter = 0;

void setup() {
  Serial.begin(115200);

  // Initialize I2C and display
  if (!display.begin(SSD1306_SWITCHCAPVCC, SCREEN_ADDRESS)) {
    Serial.println("SSD1306 allocation failed");
    for (;;); // Don't proceed, loop forever
  }

  display.clearDisplay();
  display.setTextColor(SSD1306_WHITE);
  display.setTextSize(1);
  display.setCursor(0, 0);
  display.println("ESP32 OLED Demo");
  display.display();
  delay(2000);
}

void loop() {
  display.clearDisplay();

  // Title
  display.setTextSize(1);
  display.setCursor(0, 0);
  display.println("ESP32 + OLED 0.96\"");

  display.drawLine(0, 12, 127, 12, SSD1306_WHITE);

  // Counter display
  display.setCursor(0, 20);
  display.println("Uptime Seconds:");
  display.setTextSize(2);
  display.setCursor(0, 36);
  display.print(counter);

  display.display();

  counter++;
  delay(1000);
}Benötigte Bibliotheken: Adafruit SSD1306 2.5.16, Adafruit GFX Library 1.12.6
Wiring diagram and example code generated by Codey.online — https://www.codey.online





 English
  Nederlands
  Frans
Frans  Italiano
  Español
  Suomi
Suomi  Polski
  Dansk
Dansk  Ελληνικά
  Български
  Čeština
  Hrvatski
  Aileen